Ryo Sakazaki(KOFXI): Unterschied zwischen den Versionen
Zur Navigation springen
Zur Suche springen
K (→Frame Data) |
(→Colors) |
||
| Zeile 37: | Zeile 37: | ||
== Colors == | == Colors == | ||
{{KOF XI Colors | {{KOF XI Colors | ||
|square=[[Datei:KOFXI ryo S. | |square=[[Datei:KOFXI ryo S.png]] | ||
|cross=[[Datei:KOFXI ryo X. | |cross=[[Datei:KOFXI ryo X.png]] | ||
|triangle=[[Datei:KOFXI ryo T. | |triangle=[[Datei:KOFXI ryo T.png]] | ||
|circle=[[Datei:KOFXI ryo C. | |circle=[[Datei:KOFXI ryo C.png]] | ||
|R1+square=[[Datei:KOFXI ryo R1S. | |R1+square=[[Datei:KOFXI ryo R1S.png]] | ||
|R1+cross=[[Datei:KOFXI ryo R1X. | |R1+cross=[[Datei:KOFXI ryo R1X.png]] | ||
|R1+triangle=[[Datei:KOFXI ryo R1T. | |R1+triangle=[[Datei:KOFXI ryo R1T.png]] | ||
|R1+circle=[[Datei:KOFXI ryo R1C. | |R1+circle=[[Datei:KOFXI ryo R1C.png]] | ||
|L1+square=[[Datei:KOFXI ryo L1S. | |L1+square=[[Datei:KOFXI ryo L1S.png]] | ||
|L1+cross=[[Datei:KOFXI ryo L1X. | |L1+cross=[[Datei:KOFXI ryo L1X.png]] | ||
|L1+triangle=[[Datei:KOFXI ryo L1T. | |L1+triangle=[[Datei:KOFXI ryo L1T.png]] | ||
|L1+circle=[[Datei:KOFXI ryo L1C. | |L1+circle=[[Datei:KOFXI ryo L1C.png]] | ||
}} | }} | ||
==Frame Data== | ==Frame Data== | ||
{| class="wikitable sortable mw-collapsible mw-collapsed" cellspacing="1" style="text-align: center; color:black;border: 1px solid #B5B5B5" | {| class="wikitable sortable mw-collapsible mw-collapsed" cellspacing="1" style="text-align: center; color:black;border: 1px solid #B5B5B5" | ||
Version vom 6. Juli 2020, 22:27 Uhr
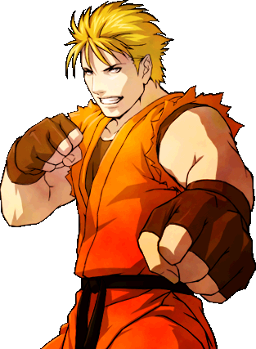
| Ryo Sakazaki リョウ・サカザキ | |
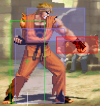
| |
| Tiers & Ranking | |
| Tier: | S |
| Ratio Cost: | 5 Points |
| Properties | |
| Damage Modifier: | 0.97 |
| Stun Modifier: | 1.03 |
| Crouch height (Tier): | C |
Quick Guide
- Ryo is a strong character with good normals and one of the best LDMs in the game.
- He is almost always played as Leader, but can occasionally be seen in 2nd position as well (Gian, a very strong japanese player, plays Ryo 2nd).
Neutral
- Ryo has no options on range and wants to get into close range to harass the opponent with his excellent normals.
- To approach, use j.E, j.D or j.B.
Offense
- Check out this round from the latest Shingo vs. u-rasia set for a great example on how to attack with Ryo.
- Smalljump D is an extremely strong overhead option that can be used repeatedly and combos into 5A even if done very high during the jump.
- 5A, particularly after j.D, combos into 623C, which in turn can be super cancelled into ranbu or LDM.
- 2B chains into 2C, which leads to combos
- 6A is a good overhead with slight advantage that is frequently used in pressure, both standalone and as a cancel.
- 5C(c) is faster than 2C, unlike in other KOFs. 5C should be cancelled into 6A if not already doing a combo. The 6A can in turn be quick shifted.
- 5B(f) and 5D(f) can be used to contain the opponent, as they make jumping out very hard
- Make sure to use each opportunity you find to shift to Ryo if you can connect his LDM.
Defense
- 5B(f) and 5D(f) are Ryo's main way to stop jump attempts.
- Ryo's high parry has upper body invul from F1 and can be special cancelled if it activates.
- Ryo's low parry is invul on the feet from F1 and can be special-cancelled if it activates.
- 623A is invul on the feet and fast (4F), 623C has some minor invul on the upper body. Both can be used as reverals, with limited success.
- Both Ranbu (2363214P) versions have upper feet invul from F1
- LDM can be used as a reversal, but is extremely slow.
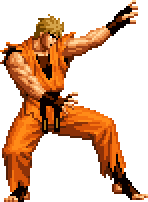
Colors
|
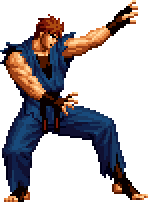
|
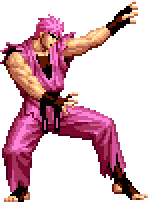
|
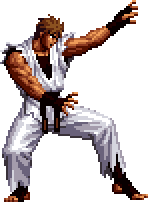
|
| A | B | C | D |
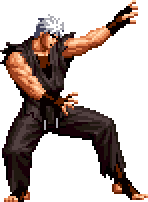
|
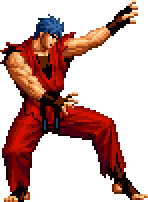
|
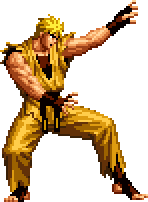
|
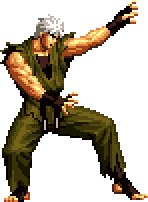
|
| R1 + |
R1 + |
R1 + |
R1 + |
| E+A | E+B | E+C | E+D |
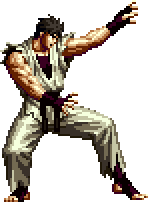
|
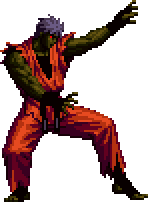
|
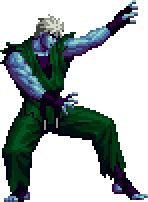
|
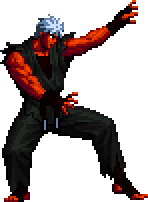
|
| L1 + |
L1 + |
L1 + |
L1 + |
| Start+A | Start+B | Start+C | Start+D |
Frame Data
| Move | S | A | Hit | Blk | Note |
|---|---|---|---|---|---|
| 5A(c) | 4 | 3 | +2 | +1 | |
| 5A(f) | 5 | 3 | +3 | +2 | |
| 5B(c) | 7 | 6 | +0 | -1 | |
| 5B(f) | 7 | 3 | -2 | -3 | |
| 5C(c) | 4 | 6 | +1 | +0 | |
| 5C(f) | 15 | 8 | +1 | +0 | |
| 5D(c) | 6 | 8 | +0 | -1 | |
| 5D(f) | 11 | 4+4 | +0 | -1 | |
| 5E | 10 | 4 | KD | -4 | |
| 2A | 5 | 3 | +6 | +5 | |
| 2B | 6 | 5 | +4 | +3 | |
| 2C | 9 | 6 | -5 | -6 | |
| 2D | 10 | 7 | KD | -2 | |
| 6A | 16 | 9 | +2 | +1 | Overhead. |
| 6A(can) | 14 | 9 | +2 | +1 | |
| 6B | 7 | 15 | / | / | Parry. F1-6 upper body invul. F1-21 Counterhit-State. Special Cancel. |
| 6B | 9 | 10 | / | / | Low Parry. F1-24 invul on the legs. F1-18 Counterhit-State. Special Cancel. |
| small u.A | 6 | 5 | |||
| small A | 7 | 5 | |||
| j.u.A | 7 | 9 | |||
| j.A | 7 | 6 | |||
| small u.B | 5 | 5 | |||
| small j.B | 4 | 5 | |||
| j.u.B | 4 | 11 | |||
| j.b.B | 5 | 6 | |||
| j.f.B | 4 | 7 | |||
| small C | 7 | 3 | |||
| j.u.C | 8 | 4 | |||
| j.b.C | 8 | 4 | |||
| j.f.C | 7 | 4 | |||
| small D | 10 | 6 | |||
| j.u.D | 8 | 6 | |||
| j.b.D | 9 | 7 | |||
| j.f.D | 6 | 7 | |||
| small E | 13 | 6 | |||
| j.E | 14 | 10 | |||
| 623A | 4 | 1+2+12 | KD | -20 | F1+2 invul. F3-6 invul on feet. |
| 623C | 7 | 2+18 | KD | -31 | F1-6 invul. F7+8 upper body invul. |
| 236A | 15 | 3+6 | KD | -6/+0* | *=close/far. |
| 236C | 18 | 3+6 | KD | -11/-3* | *=close/far. |
| 214B | 7 | 4+4 | KD | -15 | |
| 214D | 10 | 5+5+5 | KD | -16 | |
| 214A | 21 | 2+4 | +3 | +2 | Upper body invul F5-13. F14-22 no hurtbox on head. |
| 214C | 35 | 4+6 | KD | -2 | Upper body invul F13-26. F27-34 no hutbox on head. F35-38 Guard point. First hit negates projectiles. |
| 623B | 23/25 | 2+5 | KD | -2 | Overhead. Airborne from F4. 2nd hit hits on F25. |
| 623D | 28/30 | 2+4 | KD | -6 | Overhead. Airborne from F4. 2nd hit hits on F30. |
| 41236B | 16 | 3 | KD | -7 | F7-13 invul on legs. |
| 41236D | 17 | 3 | KD | -9 | F5-14 invul on legs. |
| 632146B | 28 | 3 | 12 | -2 | Super Cancel. |
| 632146D | 44 | 4 | +6 | GC | Guard Crush. |
| 2363214A | 12 | 18 | KD | -19 | F1~5 invul. From F12 until end of active time above feet invul. |
| 2363214C | 15 | 27 | KD | -19 | F1~6 invul. From F15-41 (whole active time) above feet invul. |
| 641236A | 16 | ~ | KD | -22* | Freeze occurs 2F later than normal. F1+2 invul. *=point blank. |
| 641236C | 21 | ~ | KD | -24* | Freeze occurs 2F later than normal. F1-6 invul (2F after freeze). *=point blank. |
| 236236E | 19 | 9 | KD | -22 | Stuns on hit. F1-18 invul. Negates projectiles F17-24. |
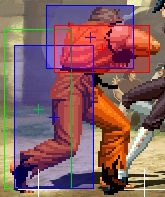
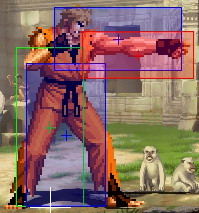
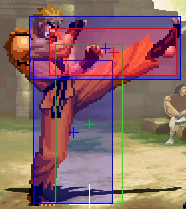
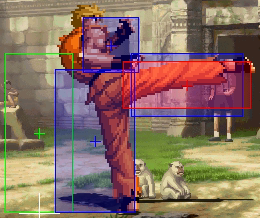
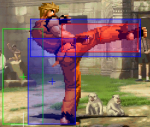
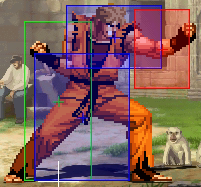
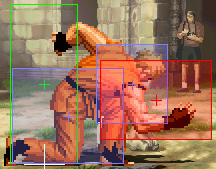
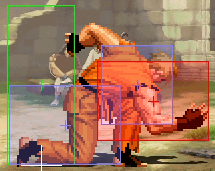
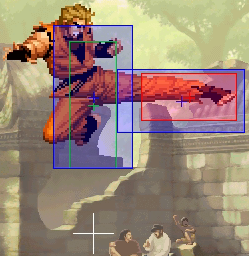
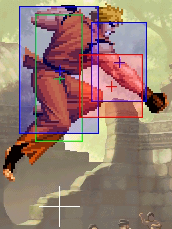
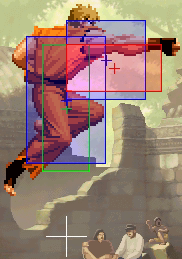
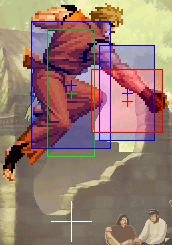
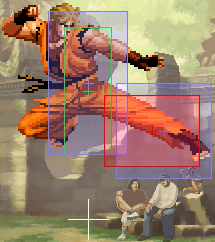
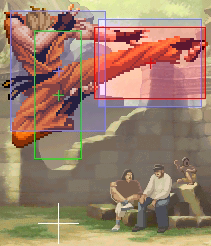
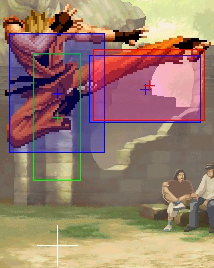
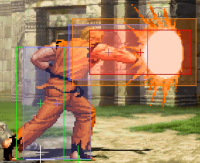
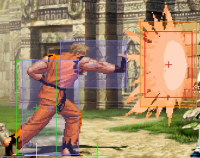
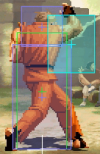
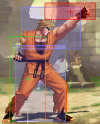
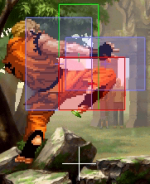
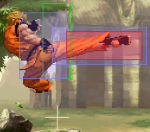
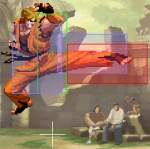
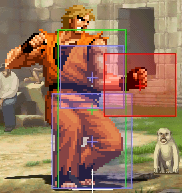
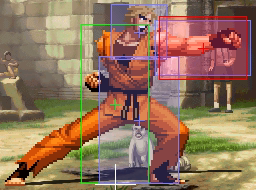
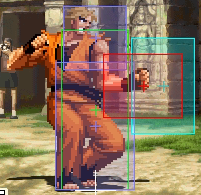
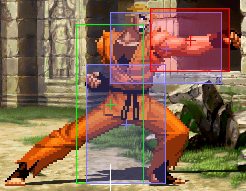
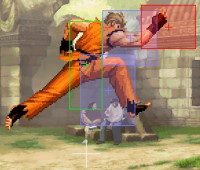
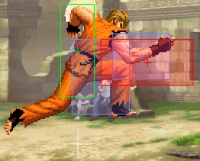
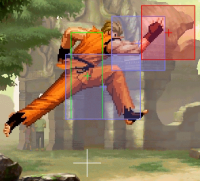
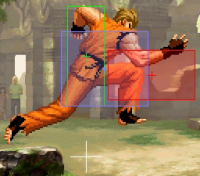
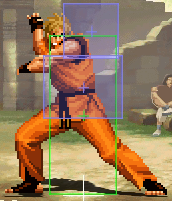
| Attack | Hitbox | Startup | Active | Hit | Guard | Note |
|---|---|---|---|---|---|---|
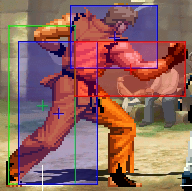
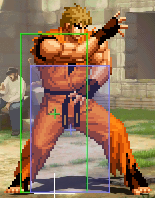
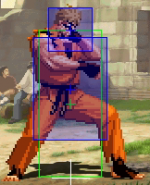
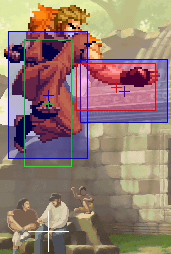
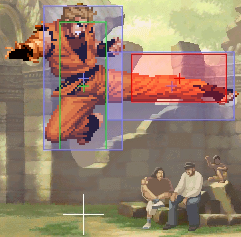
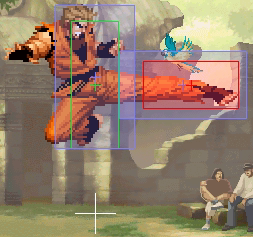
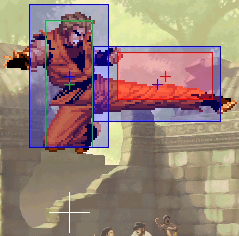
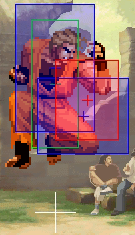
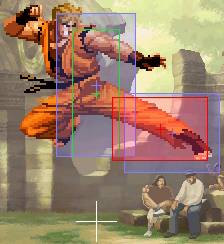
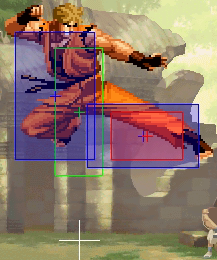
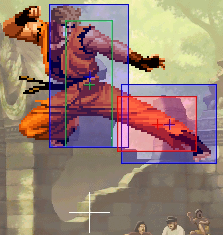
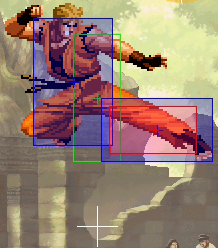
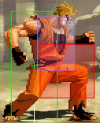
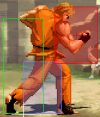
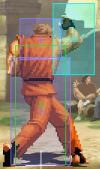
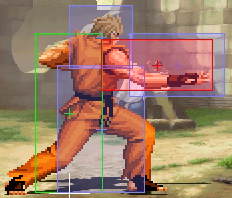
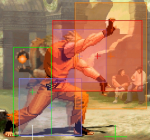
| 2A | 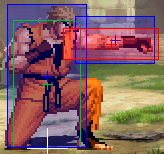
|
6 | 2 | +5 | +4 | |
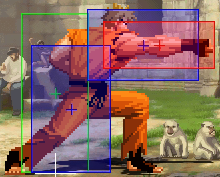
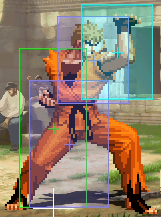
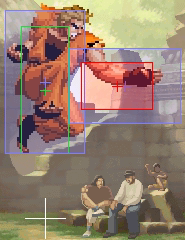
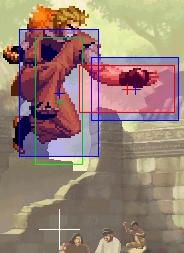
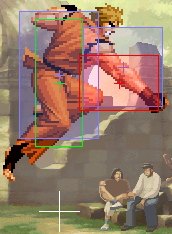
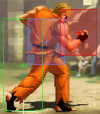
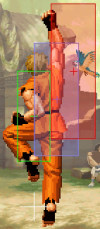
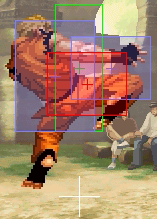
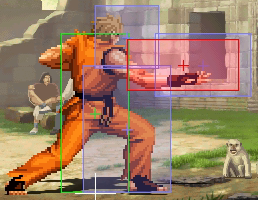
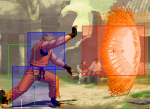
| 2B | 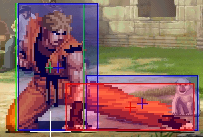
|
5 | 6 | +3 | +2 | |
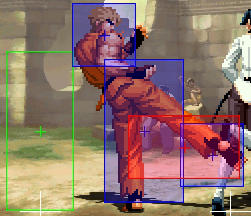
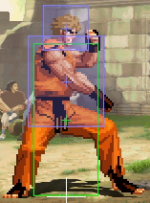
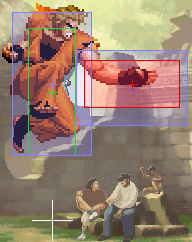
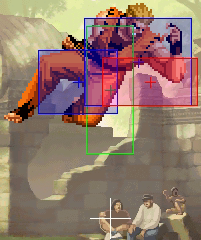
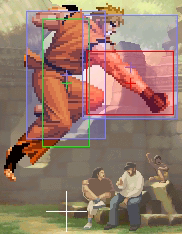
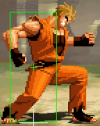
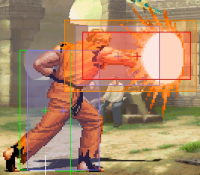
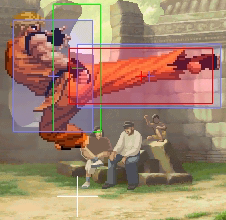
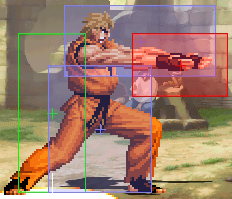
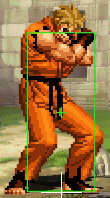
| 2C | 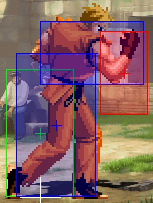 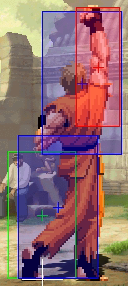
|
6 | 2+3 | -6 | -7 | |
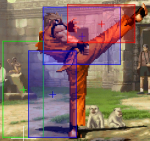
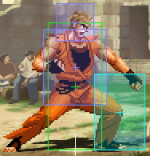
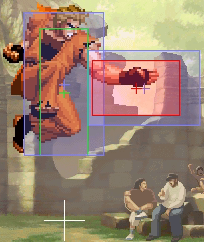
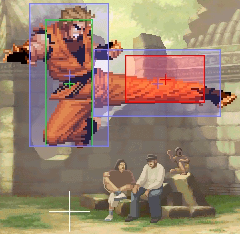
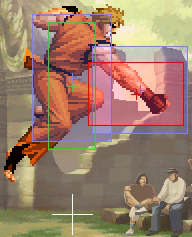
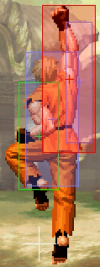
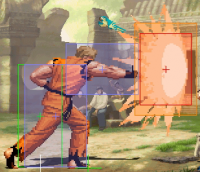
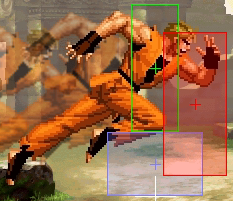
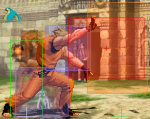
| 2D | 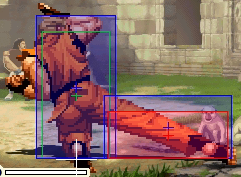
|
10 | 5 | KD | -3 |
Special Attributes & Bugs
- Has a smaller than normal vertical collision during wakeup (128px instead the usual 160px), which allows smalljump crossups.
- Has a taller than normal vertical collision when crouch blocking heavy attacks, which prevents smalljump crossups against him (eg. Oswald j.C cannot ever jump over crouching Ryo if he blocks).
- Has no collision on back ukemi (can run through)
- Has no recovery when landing from a DOWN! and can act immediately.
Combos
- 2B>2C>214K
- (j.D>)5A>623C Super Cancel Ranbu / LDM
Universal Strategy vs Ryo
Ryo's 236236E
Ryo's LDM is slow, but has a lot of invulnerability and a trade is always in favor of Ryo. It also has very high pushback on block, which can make punishing it relatively difficult. The best way to punish the LDM is to input the punish already in the super freeze(eg by buffering a roll, or an invulnerable special move)
The following characters can punish 236236E on block even on max range (incomplete list):
- Adelheid: 236236D; LDM
- Griffon: nothing
- K': 214B/D; 236236A/C
- Kula: LDM
- Maxima: 214A
- Oswald: LDM
- Terry:236236D
- Vanessa: nothing
- Sacred Treasures Team: Kyo | Iori | Shingo
- Hero Team: Ash | Oswald | Shen
- Fatal Fury Team: Terry | Kim | Duck King
- Agent Team: Vanessa | Mary | Ramon
- Art of Fighting Team: Ryo Sakazaki | Yuri Sakazaki | King
- Rival Team: Elisabeth | Duo Lon | Benimaru
- Team K': K' |Kula | Maxima
- Garou Team: Jenet | Gato | Griffon
- Ikari Warriors Team: Ralf | Clark | Whip
- Anti Kyokugenryu Team: Malin | Kasumi | Eiji
- Psycho Soldier Team: Athena Asamiya | Sie Kensou | Momoko
- Time Unlock: Adelheid | Gai | Hayate | Jazu | Silber
