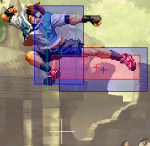
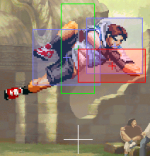
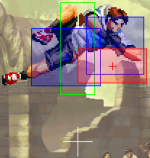
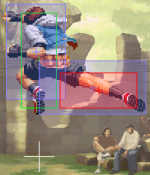
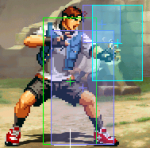
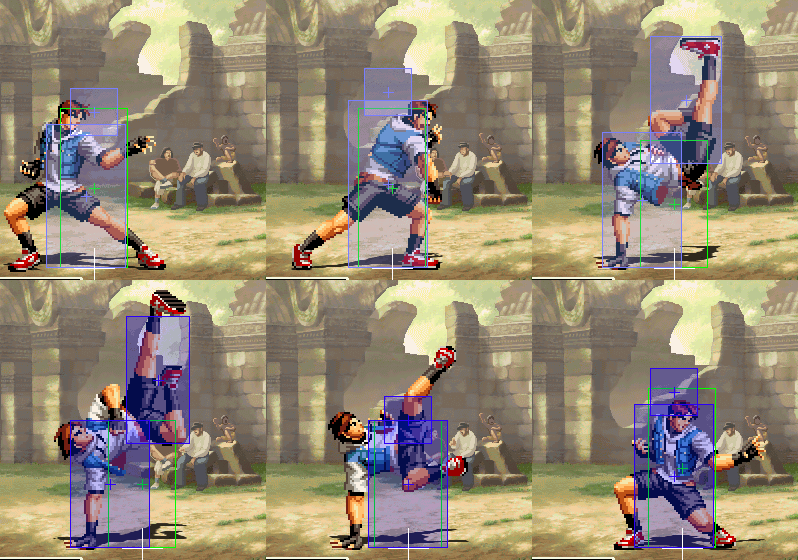
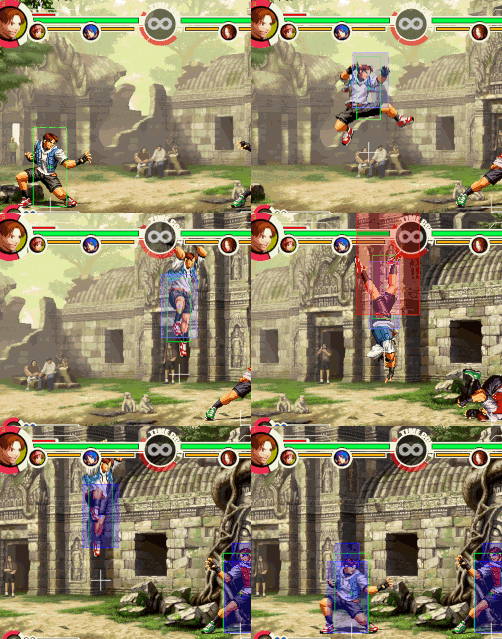
Sie Kensou(KOFXI)
Zur Navigation springen
Zur Suche springen
| Sie Kensou 椎 拳崇 | |

| |
| Tiers & Ranking | |
| Tier: | C |
| Ratio Cost: | 2 Points |
| Properties | |
| Damage Modifier: | 1.02 |
| Stun Modifier: | 0.97 |
| Crouch height (Tier): | B |
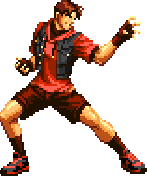
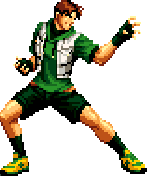
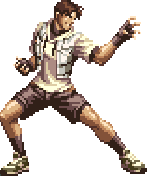
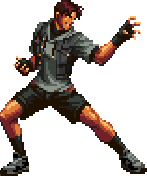
Colors

|

|

|
|
| A | B | C | D |
|

|
|
|
| R1 + |
R1 + |
R1 + |
R1 + |
| E+A | E+B | E+C | E+D |
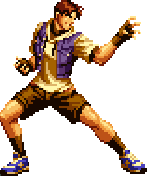
|
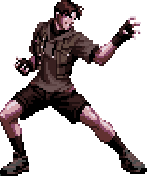
|
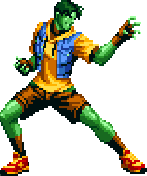
|
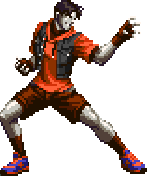
|
| L1 + |
L1 + |
L1 + |
L1 + |
| Start+A | Start+B | Start+C | Start+D |
Frame Data
| Move | S | A | Hit | Grd | Note |
|---|---|---|---|---|---|
| 5A(c) | 6 | 4 | +5 | +4 | |
| 5A(f) | 7 | 4 | +5 | +4 | |
| 5B(c) | 5 | 4 | +5 | +4 | |
| 5B(f) | 7 | 5 | -3 | -4 | |
| 5C(c) | 6 | 4 | +1 | +0 | |
| 5C(f) | 15 | 5+6 | -3 | -4 | |
| 5D(c) | 6 | 4 | -2 | -3 | |
| 5D(f) | 11 | 3 | -1 | -2 | |
| 5E | 19 | 4 | KD | -6 | |
| GC | 7 | 6 | KD | -15 | |
| 6A | 21 | 5 | -10 | -11 | Overhead |
| 6A(can) | 14 | 3 | -7 | -8 | Special Cancel. No pushback. |
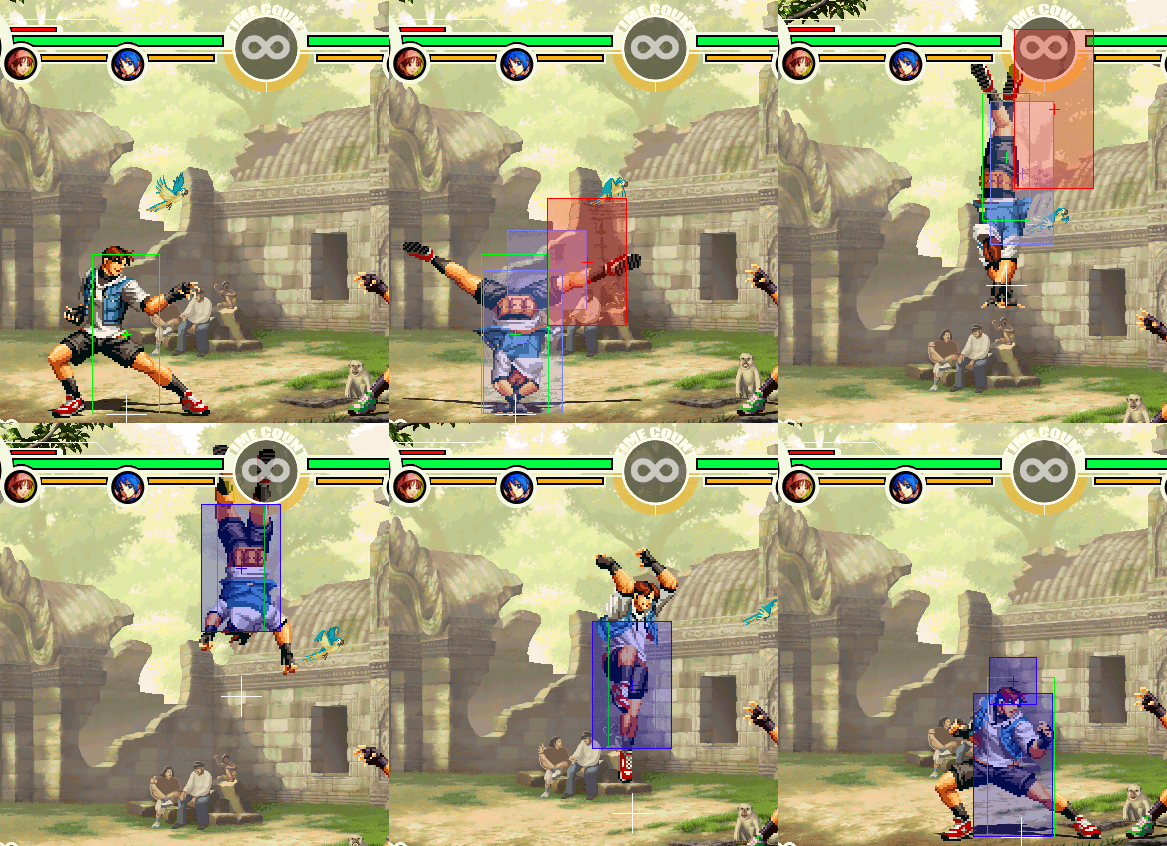
| 6B | 14 | 6 | +2 | +1 | Feet invul from F1. Airborne F10-26. 7F landing recovery. |
| Saving Shift | ? | n* | / | / | Active until landing. 9F/10F recovery (hit/whiff). |
| 2A | 5 | 4 | +5 | +4 | |
| 2B | 6 | 4 | +1 | +0 | |
| 2C | 9 | 4 | -3 | -4 | |
| 2D | 9 | 3 | KD | -4 | |
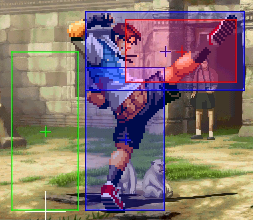
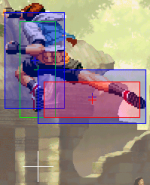
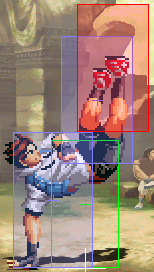
| small A | 7 | 8 | / | / | same as j.A |
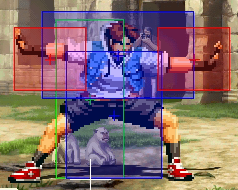
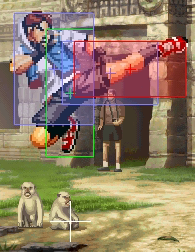
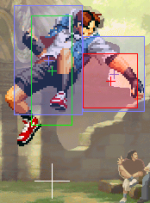
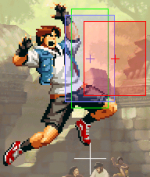
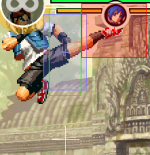
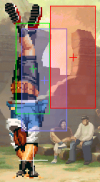
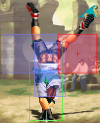
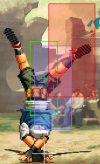
| j. up A | 7 | 8 | / | / | Unique hitbox |
| j.A | 7 | 8 | / | / | same as small A |
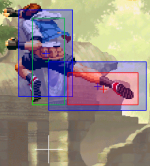
| small B | 7 | 8 | / | / | same as j.B |
| j. up B | 7 | 8 | / | / | Unique hitbox |
| j.B | 7 | 8 | / | / | same as small B |
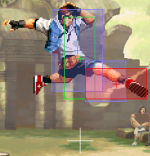
| small C | 9 | 9 | / | / | same as j.C |
| j.C | 9 | 9 | / | / | same as small C |
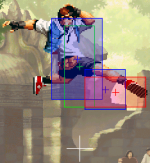
| small D | 10 | 6 | / | / | same as j.D |
| j. up D | 10 | 6 | / | / | Unique hitbox |
| j.D | 10 | 6 | / | / | same as small D |
| small E | 13 | 5 | / | / | same as j.E |
| j.E | 13 | 5 | / | / | same as small E |
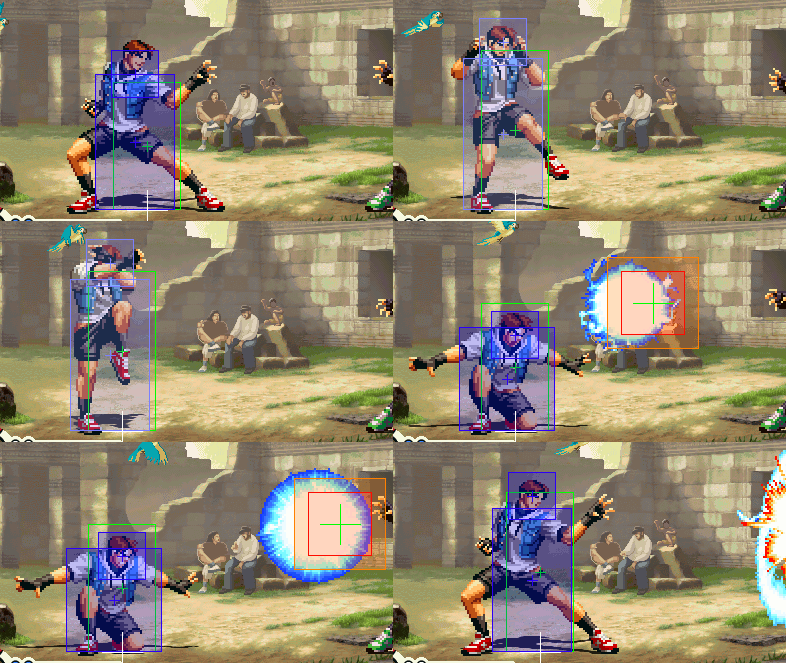
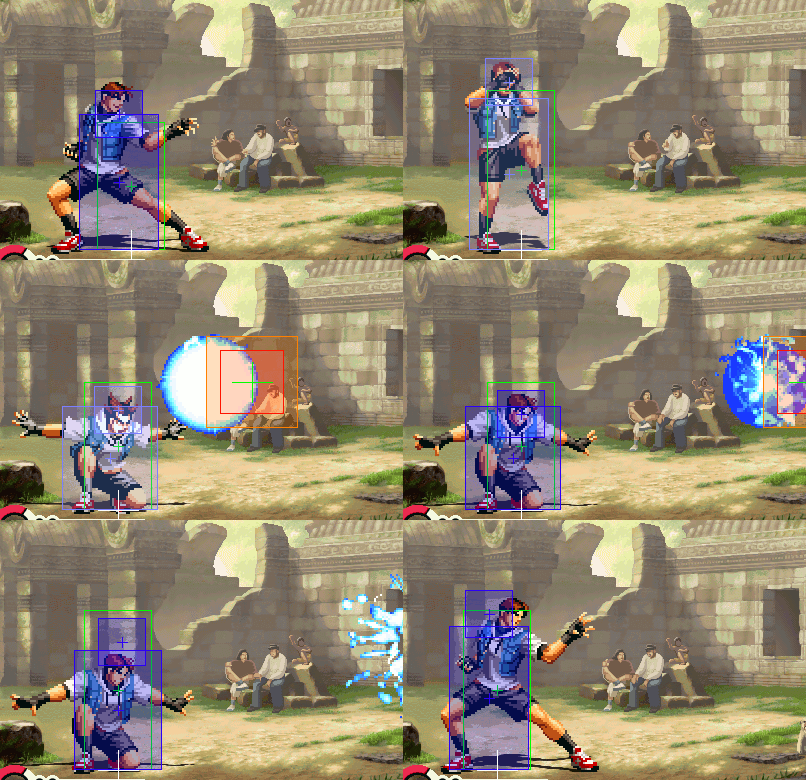
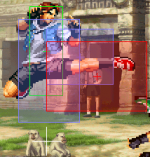
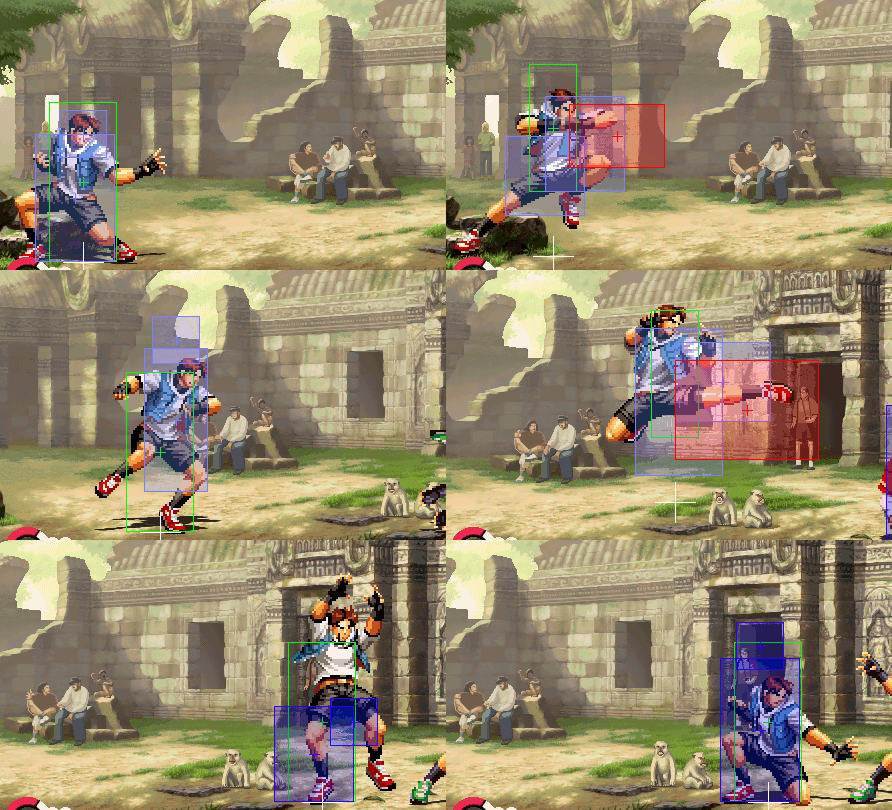
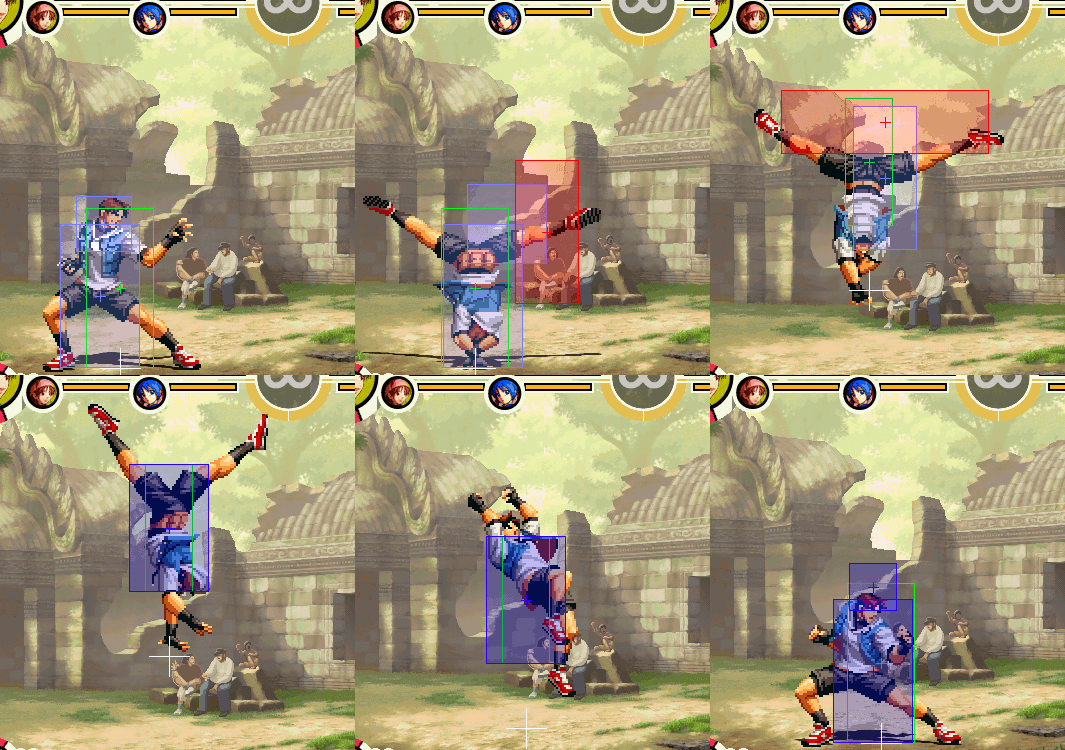
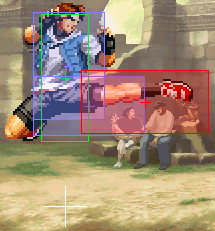
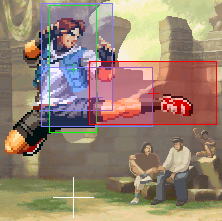
| 214A | 22 | n | +0* | -1* | Same hitbox as 214C, but travels slower. Low Profile F22-42. 53F total duration. *=point blank. |
| 214C | 16 | n | -6* | -7* | Same hitbox as 214A, but travels faster. Low Profile F16-41. 53F total duration. *=point blank. |
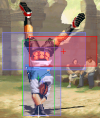
| 623B | 15 | 3+3 | KD | -7 | Guard Point F6-8. Invul on feet F12-14. 49F total duration. |
| 623D | 19 | 3+3 | KD | -9 | Guard Point F7-11. Invul on feet F15-18. 56F total duration. |
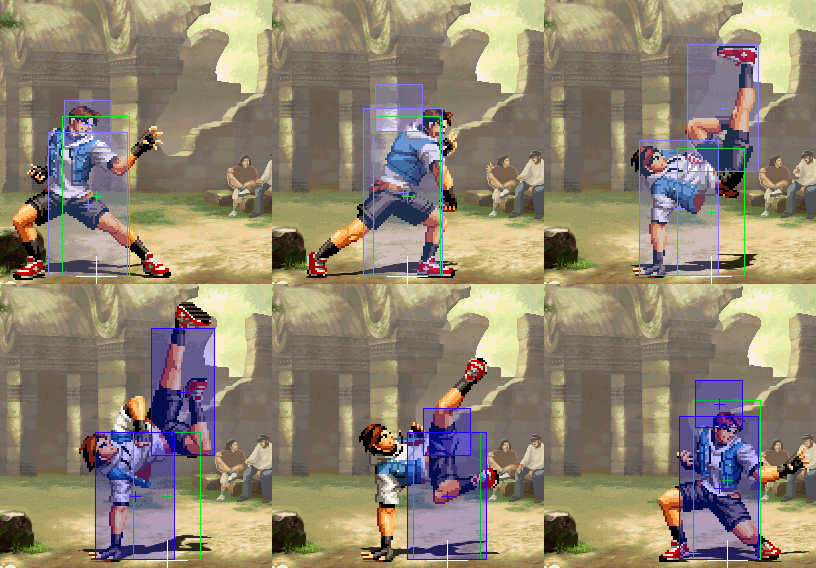
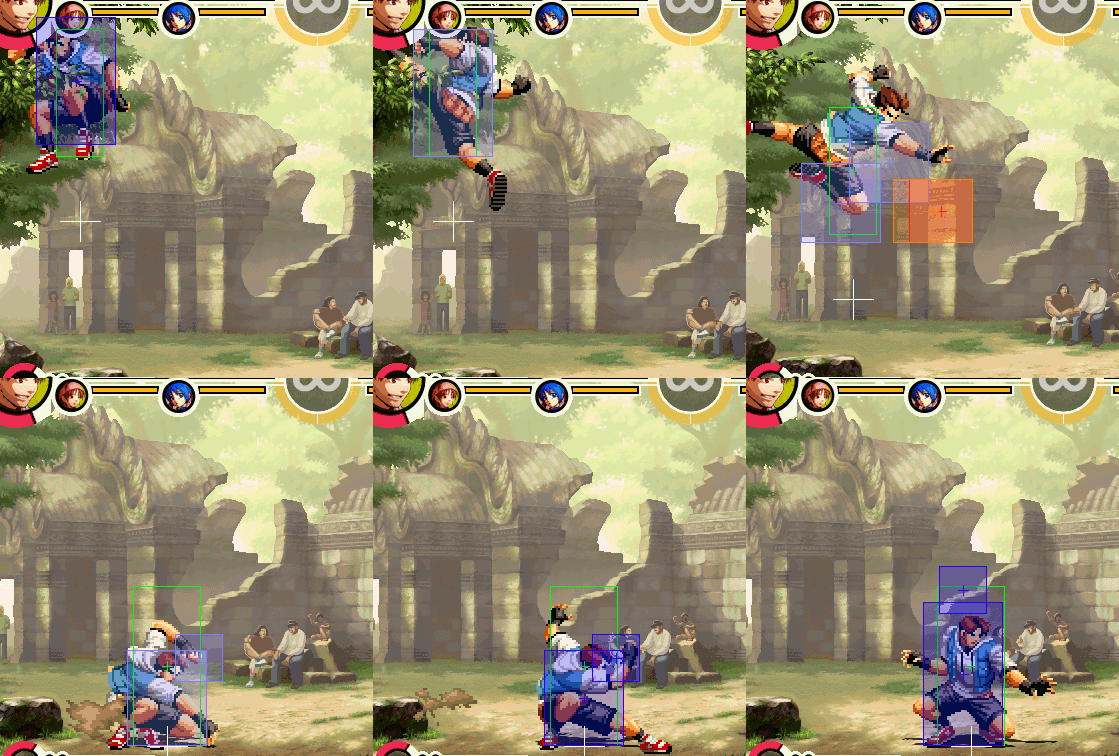
| 41236B | 12 | 12+3+4 | KD | -10 | Airborne F12-24 & F28-54. 18F landing recovery. |
| 41236D | 8 | 6+3+7 | KD | -60 | Low Profile F1-5. Airborne from F8. 14F landing recovery. |
| 421B | 9 | 3+3+6+7 | KD | -30 | 1st+2nd hit hard knockdown. Airborne from F15. 10F landing recovery. |
| 421D | 11 | 3+3+13+3 | KD | -41 | 1st+2nd hit hard knockdown. F1-10 invul. F11-13 no hurtbox on hands. Airborne from F17. 12F landing recovery. |
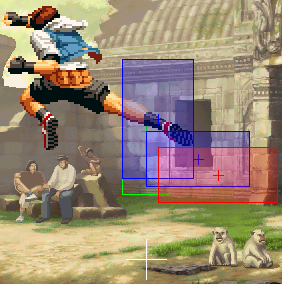
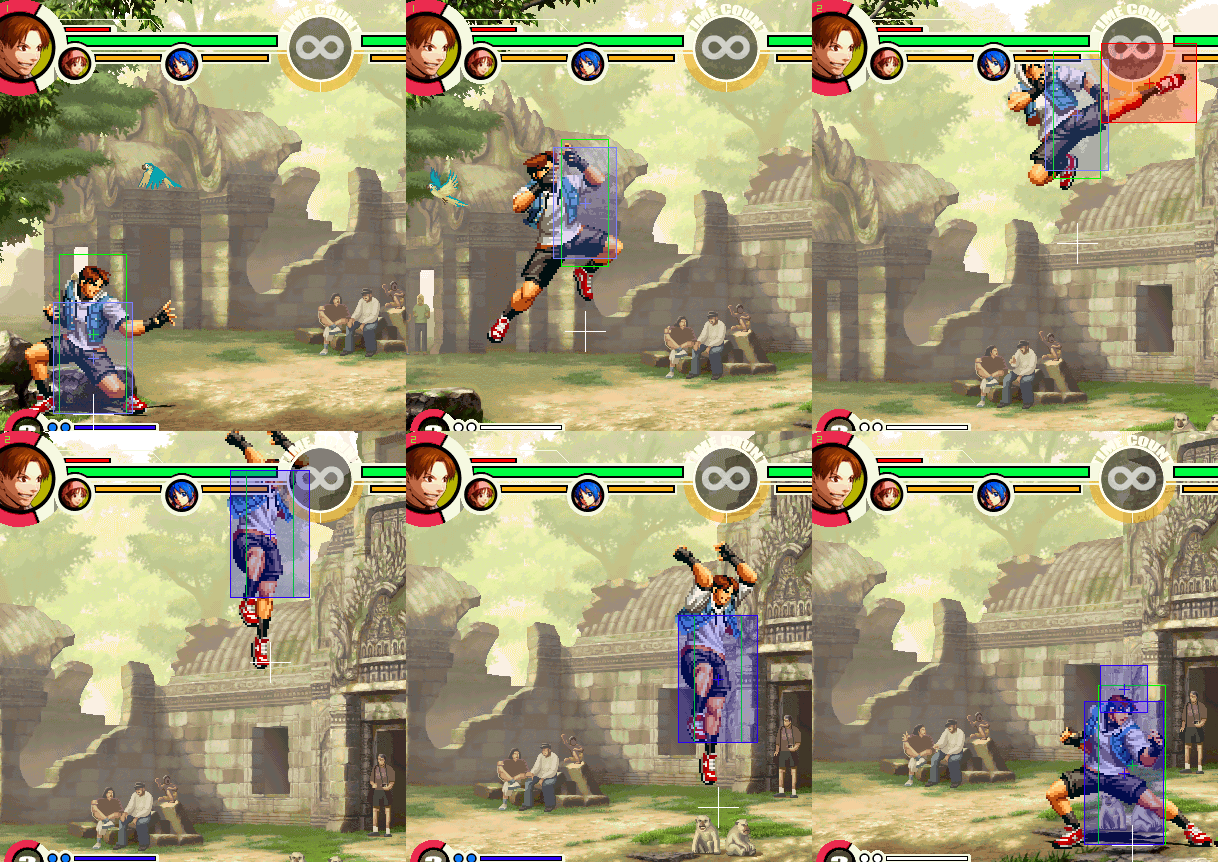
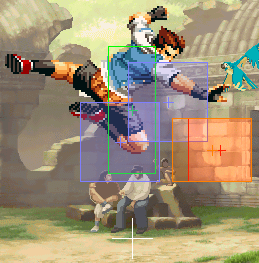
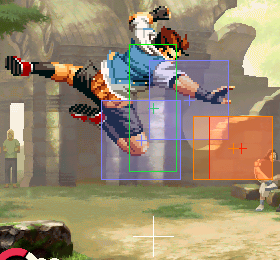
| j.214A | 16 | 2n* | -1to+2 | -2to+1 | Same hitbox as j.214C. Negates projectiles from F16 until landing. 9F counterhit state upon landing. 27F total landing recovery. *= alternates between active and not active for 2F, every 2F, until landing. Advantage tested against standing Kyo. |
| j.214C | 25 | n* | +7to+8 | +6to+7 | Same hitbox as j.214A. Negates projectiles from F25 until landing. 20F total landing recovery. *= active until landing. Advantage tested against standing Kyo. |
| 236A | 11 | 9 | KD | -11~-3 | Same hitbox as 236C. Airborne F11-19. 23F landing recovery. |
| 236C | 22 | 15 | KD | -6~+8 | Same hitbox as 236A. Airborne F22-36. 12F landing recovery. |
| 623P | 9 | 2 | KD | / | Command Throw. 35F recovery on whiff. |
| 2363214B | 5 | 7+29 | KD | -45* | F1 invul. Airborne F2. 3rd hit only is an overhead. Slightly more damage & frame advantage than D-Version. 10F landing recovery. *=if blocking the first 4 hits. |
| 2363214D | 5 | 33 | KD | -66* | Invul F1-4. Airborne F2. 35F recovery (first 28F recovery are low profile). *=if blocking the last part (can act after the first part). |
| 236236P | 1 | 2 | KD | / | F1-2 invul (whole active time). Hits on F28 (during Super Freeze). F3-8 counter hit state. Total recovery 29F. |
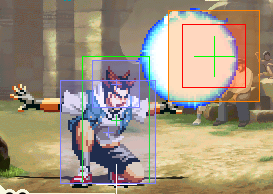
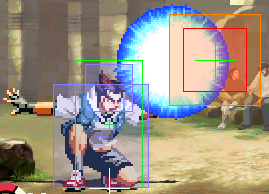
| 2141236E | 11 | 20+X* | -13* | -50 | Can hit OTG. F1-7 invul. Negates projectiles from F7. Low profile F8-51. Becomes invul on successful hit for the duration of the absorb animation + 9F vulnerable recovery. *=20F active near Kensou, then spawns projectiles in a line. *2= against regular wakeup time. |
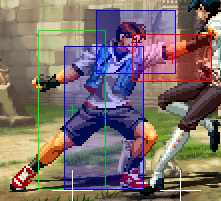
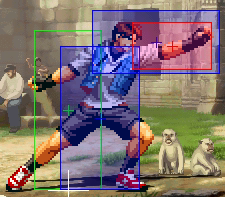
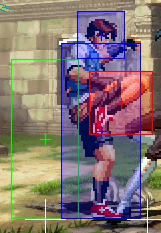
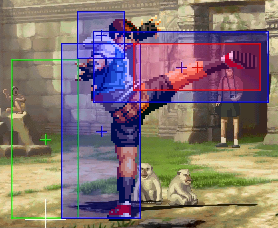
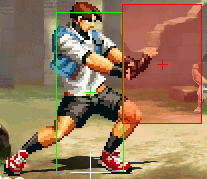
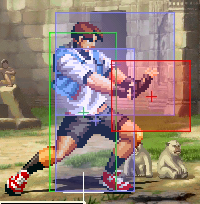
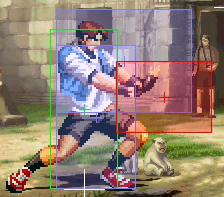
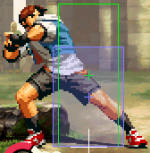
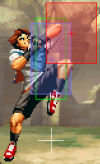
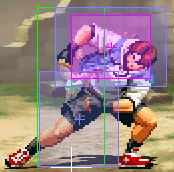
| Attack | Hitbox | Startup | Active | Hit | Guard | Note |
|---|---|---|---|---|---|---|
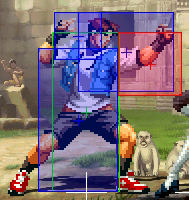
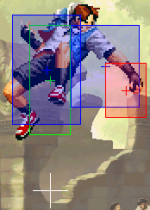
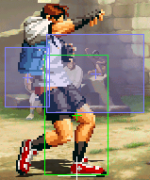
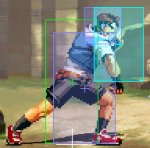
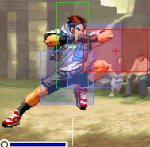
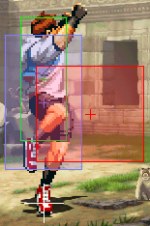
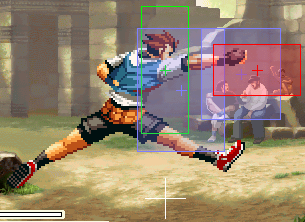
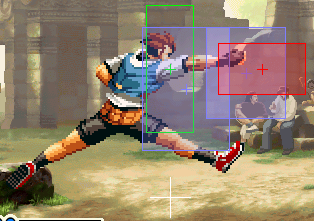
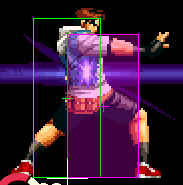
| 2A | 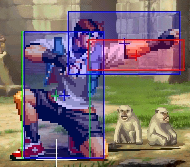
|
5 | 4 | +5 | +4 | |
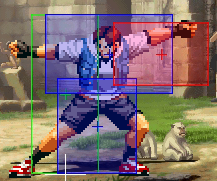
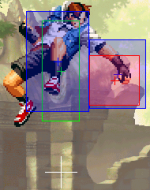
| 2B | 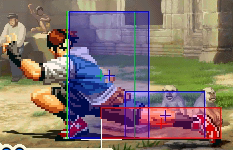
|
6 | 4 | +1 | +0 | |
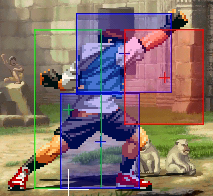
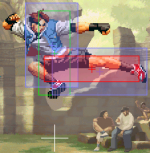
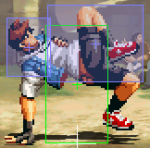
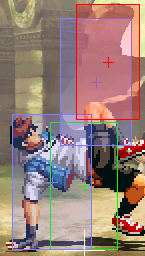
| 2C | 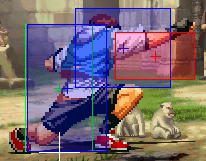
|
9 | 4 | -3 | -4 | |
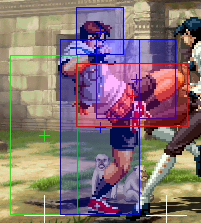
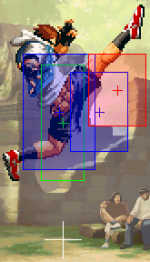
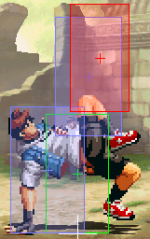
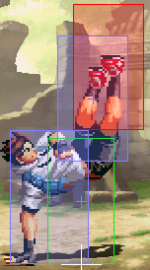
| 2D | 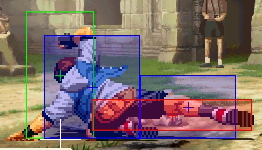
|
9 | 3 | KD | -4 |
Combos
Note: all Combos were provided by SenseiEnrique.
Basic Combos
- 2B>2A, then:
- 236A
- 2363214B
- j.214C (against grounded opponent), then:
- 2A>236A
- 2363214B
- j.214C (against airborne opponent low to the ground), then:
- 236A
- 236321D
- midscreen (j.B/j.C/j.D) 5C/5D>6A>623D, then:
- 236A
- 41236D
- walk forward, 2363214D
- dash up, 421B(1)> super cancel 2141236E
- midscreen 623P, then:
- 236C
- 41236D
- 6B, 236A
- 6B, 2363214D
- hyperhop C/ hyperhop D
- dash up, 421D(2) super cancel 2141236E
- 5C(f)(2), then:
- 41236B
- 2363214B
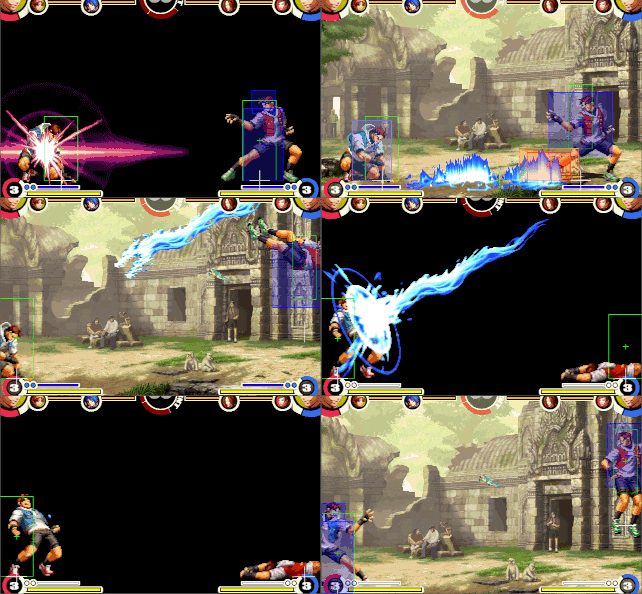
- 236236P>dreamcancel 2141236E (you can wait until the second to last hit (17) before dreamcanceling)
- (j.B/j.C/j.D)5D>236236P(>dream cancel 2141236E)
- Corner 2C/5C/5D>6B, link 236236P(>dream cancel 2141236E)
- Corner after 623P or (j.B/j.C/j.D)5C/5D>6A>623D:
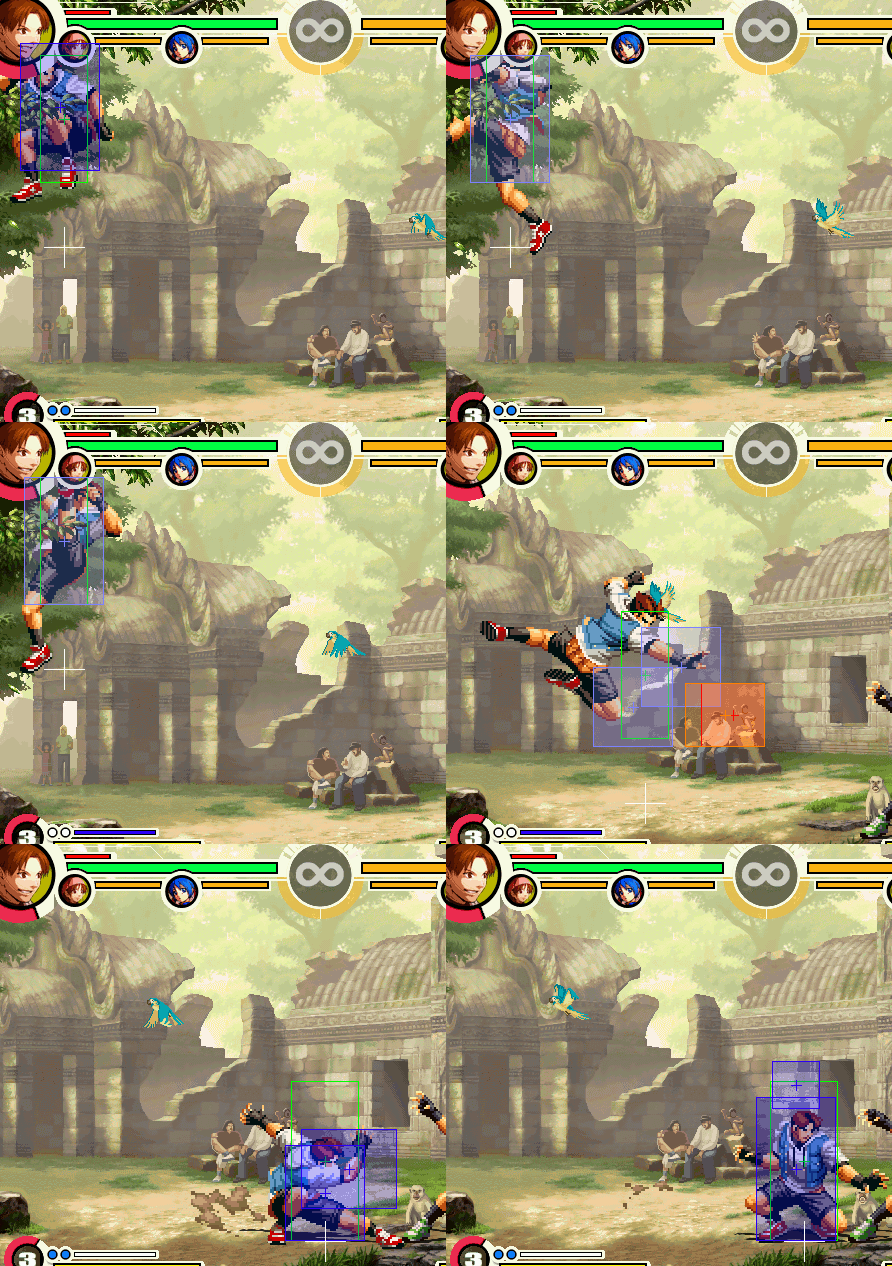
- delay 6B>delay cancel j.214C, 6B, then:
- j.C
- 41236D
- 2363214D
- 5A/5C (if the opponent is not too high)
Special Combos
- Corner juggle combo (very hard): after 623P or (j.B/j.C/j.D)5C/5D>6A>623D max delay 6B>delay cancel j.214C, delay 6B>delay cancel j.214C, 6B, then:
- j.C
- 41236D
- 2363214D
- opponent cornered, max distance 236A (Counter hit), 2A or 2363214D
- opponent cornered, 236C (Counter hit), then:
- 2363214D or 2A (if 236C was a little closer than half screen)
- 41236D or 214K (if 236C was a little further back)
- 6B(>delay cancel j.214C, 6B) into finisher (if 236C was almost full screen)
- opponent cornered, Kensou full screen 214A, run up super jump C/D, go into corner juggle combo
- opponent cornered, Kensou full screen 214A, run up 623B (prevents saving shift but is a 3F-link): combo from SenseiEnrique
- A few LDM setups from tacchi
Team Combos
Universal Shift Combos, Midscreen:
- j.B/j.C/j.D, 5C/5D>6A>Shift or 623D(2)>Shift
- Shift to Kensou>j.D>5D>41236B
- (if the attack before didn't push opponent back too far)Shift to Kensou>j.A/j.B, 5C/5D>6A>Shift or 623D>juggle combo
- 5C(f)(2)>Shift
- Shift to Juggle anywhere moves: 623P, then:
- (6B), 5D(f)>Shift
- dash up 421B(2)>Shift
- (j.B/j.C/j.D)5C/5D>6A>623D(1)>Shift (character will land behind opponent)
Universal Shift Combos, Corner
- Shift to Kensou>j.C/j.D, 5C/5D>6A>623D, delay 6B>delay cancel j.214C, 6B, j.C shift bnb in the corner, deals very high stun
- Corner Juggle Combo, finish with 421D>Shift to Character with juggle anywhere move or low startup move (9F or less)
K' & Kensou:
- Kensou combo into 623D(2)>Shift to K', superjump forward D, LDM
- Kensou combo into 623D(1)>Shift to K', side switch, LDM (very easy to time)
- Kensou 623P(, 6B), 5D(f)>Shift to K', LDM (6B makes timing easier)
- K' corner j.C, 5C(2)>6B>623C(1)>Shift to Kensou>corner bnb (Stun against Character with 1.0 stun multiplier or higher)
- after Kensou corner juggle combo, finish with 421D(1)>Shift to K'>j.D, backdash LDM
- Kensou corner (j.B/j.C/j.D)5C/5D>6A>623D>Shift to K', then:
jump back D, LDM whiff j.E, 2A>kara cancel 3D, 5A(c), walk back LDM whiff j.E, smalljump back 236D, 5A(f), LDM
- Kensou corner j.C/j.D, 5C/5D>6A>Shift to K'>K' corner bnb, but with 3 j.214B (Stun against Character with 1.0 stun multiplier or higher)
- Kensou corner juggle combo (very hard variant) if the opponent is low enough after final 6B:
214D>Shift to K'>j.D, j.214B 4x (Stun against Character with 1.0 stun multiplier or higher, very difficult)
- Kensou cornered, combo into 2363214D>Shift to K', 2A>kara cancel 3D>j.214B, 5A(f), j.214B, LDM
Gato & Kensou
- Kensou close to corner, combo into 2363214K>Shift to Gato, 214B>214B up to 6 times then finisher (7 with correct height and perfect timing)
- Kensou Corner (j.B/j.C/j.D)5C/5D>6A>623D(2)>Shift to Gato, 214B>214B up to 5 times then finisher
- Gato corner (j.C/j.D, 2C/5C or j.B, 2B, 5C)>236C>Shift to Kensou>corner bnb (Stun against Character with 1.0 stun multiplier or higher)
- Gato corner j.D, 2B, 5C>236C>Shift to Kensou>j.C/j.D>5C/5D>6A>623D, 6B, j.C (Stun against Character with 1.0 stun multiplier or higher)
- Kensou combo into 623D(1)>Shift to Gato, side switch, 236236B(>dreamcancel LDM)
Mary & Kensou
- Mary corner j.C/j.D, 2C/5C(2)>6B>[4]6D>Shift to Kensou>corner bnb (Stun against Character with 1.0 stun multiplier or higher)
- Kensou close to corner combo into 2363214K>Shift to Mary, 6B 2nd hit whiffs>623D>623D
King & Kensou
- King corner j.D, 5D(2)>3D>Shift to Kensou>corner bnb (Stun against Character with 1.0 stun multiplier or higher)
Oswald & Kensou
- Kensou corner combo into 623D(2)>Shift to Oswald, back dash, 3A>236B>236A>236B>236E (Ace)
- Kensou combo into 623D(1)>Shift to Oswald, side switch, LDM
- Corner crossup setup into ACE from SenseiEnrique
Ryo & Kensou
- Kensou combo into 623D(2)>Shift to Ryo, LDM
- Kensou close to corner combo into 2363214K>Shift to Ryo, 214A late hit, then:
- LDM
- 214A, 623C
- Ryo corner j.C/j.D, 5C/5D>6A>Shift to Kensou, corner bnb (Stun against Character with 1.0 stun multiplier or higher)
Ralf & Kensou
- Ralf corner combo into 623P>Shift to Kensou, whiff 5E, LDM (unscale)
Malin & Kensou
- Kensou corner 623P, 2A>kara cancel 214B(second hit only)>Shift to Malin, 1F Jump, LDM (unscale)
Matchups
vs Gato
According to Sawakoro, this matchup is relatively even, since Gato has problems getting in on Kensou's zoning playstyle.
Videos
Kensou LDM setups with many characters from SenseiEnrique
- Sacred Treasures Team: Kyo | Iori | Shingo
- Hero Team: Ash | Oswald | Shen
- Fatal Fury Team: Terry | Kim | Duck King
- Agent Team: Vanessa | Mary | Ramon
- Art of Fighting Team: Ryo Sakazaki | Yuri Sakazaki | King
- Rival Team: Elisabeth | Duo Lon | Benimaru
- Team K': K' |Kula | Maxima
- Garou Team: Jenet | Gato | Griffon
- Ikari Warriors Team: Ralf | Clark | Whip
- Anti Kyokugenryu Team: Malin | Kasumi | Eiji
- Psycho Soldier Team: Athena Asamiya | Sie Kensou | Momoko
- Time Unlock: Adelheid | Gai | Hayate | Jazu | Silber
