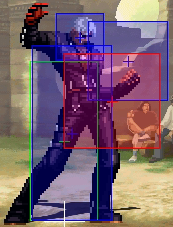
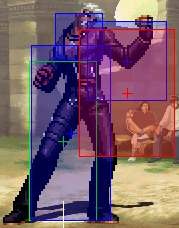
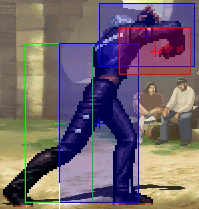
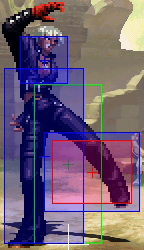
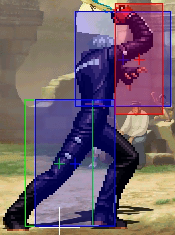
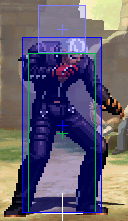
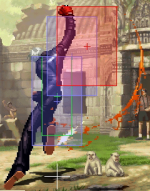
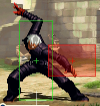
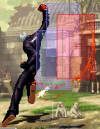
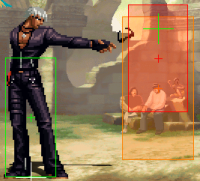
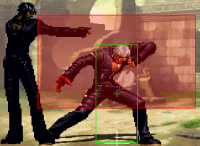
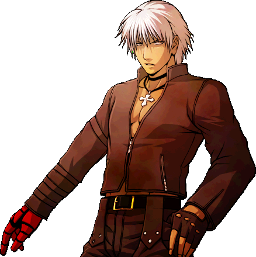
K'(KOFXI)
| K' K' | |
| |
| Tiers & Ranking | |
| Tier: | S |
| Ratio Cost: | 6 Points |
| Properties | |
| Damage Modifier: | 1.0 |
| Stun Modifier: | 1.0 |
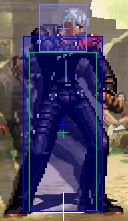
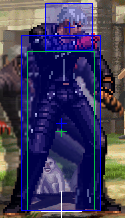
| Crouch height (Tier): | F |
Quick Guide
- K is a strong, highly technical character with a lot of flexibility in his toolset.
- He has high combo damage & flexibilty and very high stun- & juggle combo synergy.
- His defense is generally OK to good, but all of his reverals are quite situational in their application.
Neutral
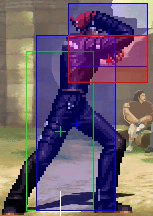
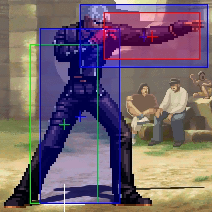
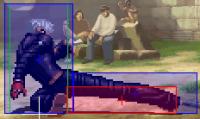
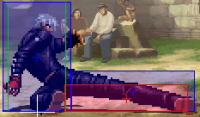
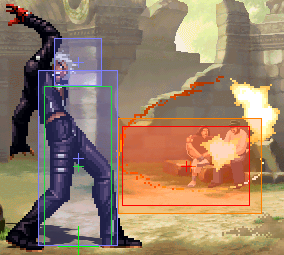
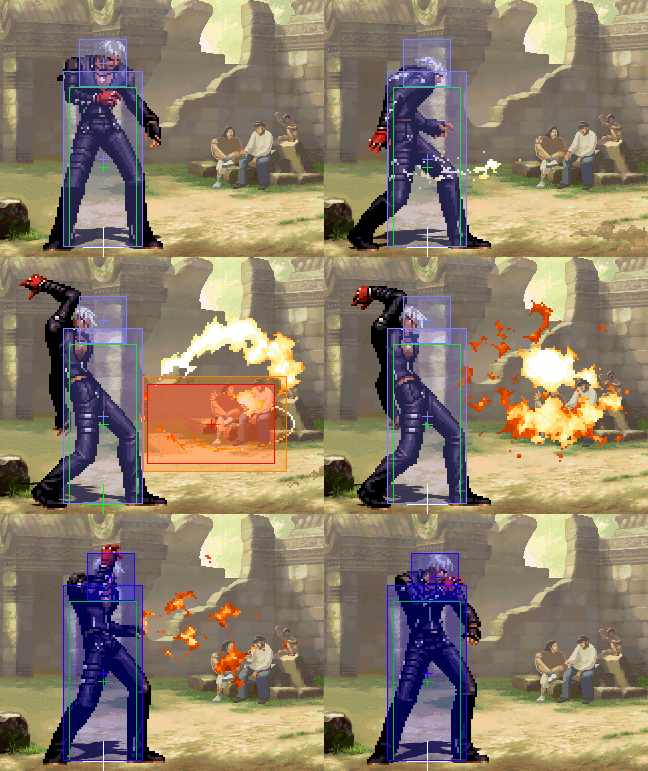
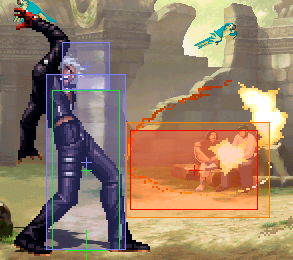
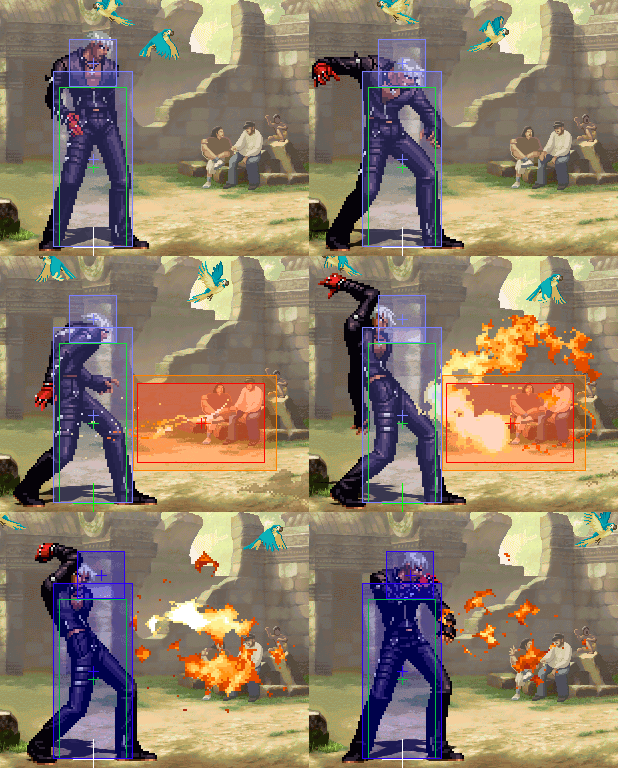
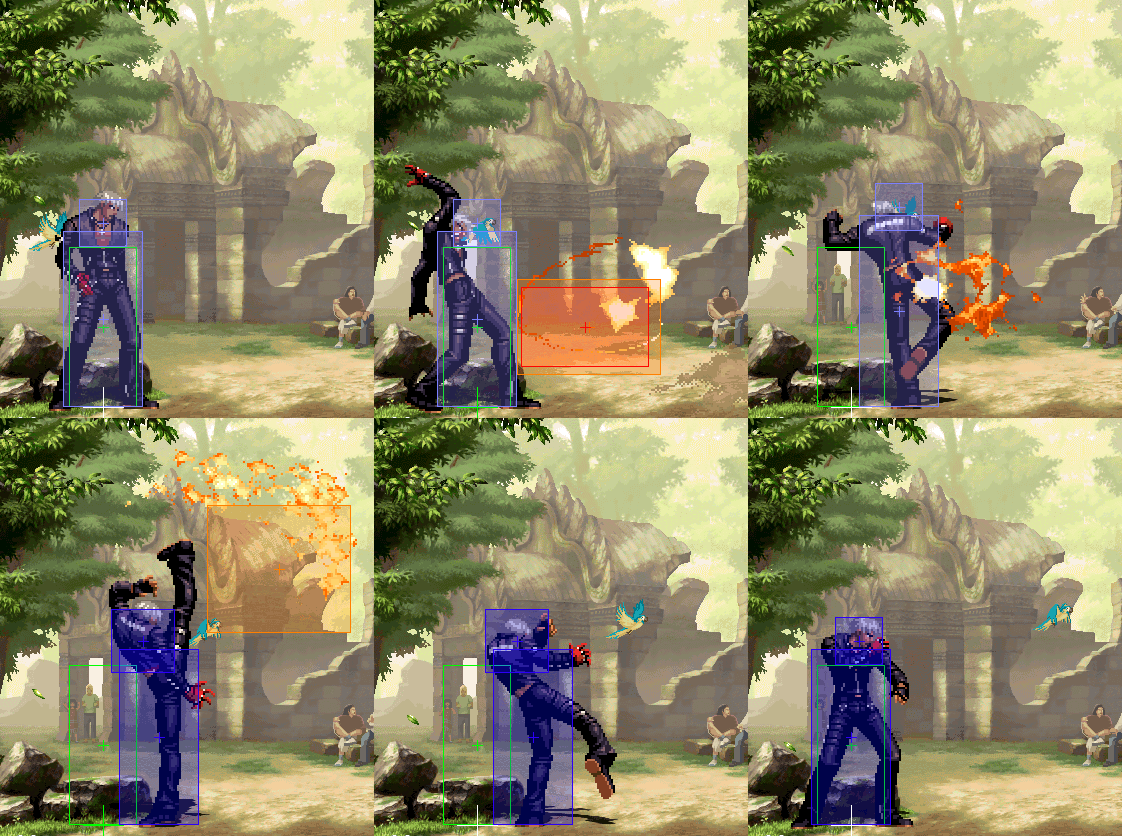
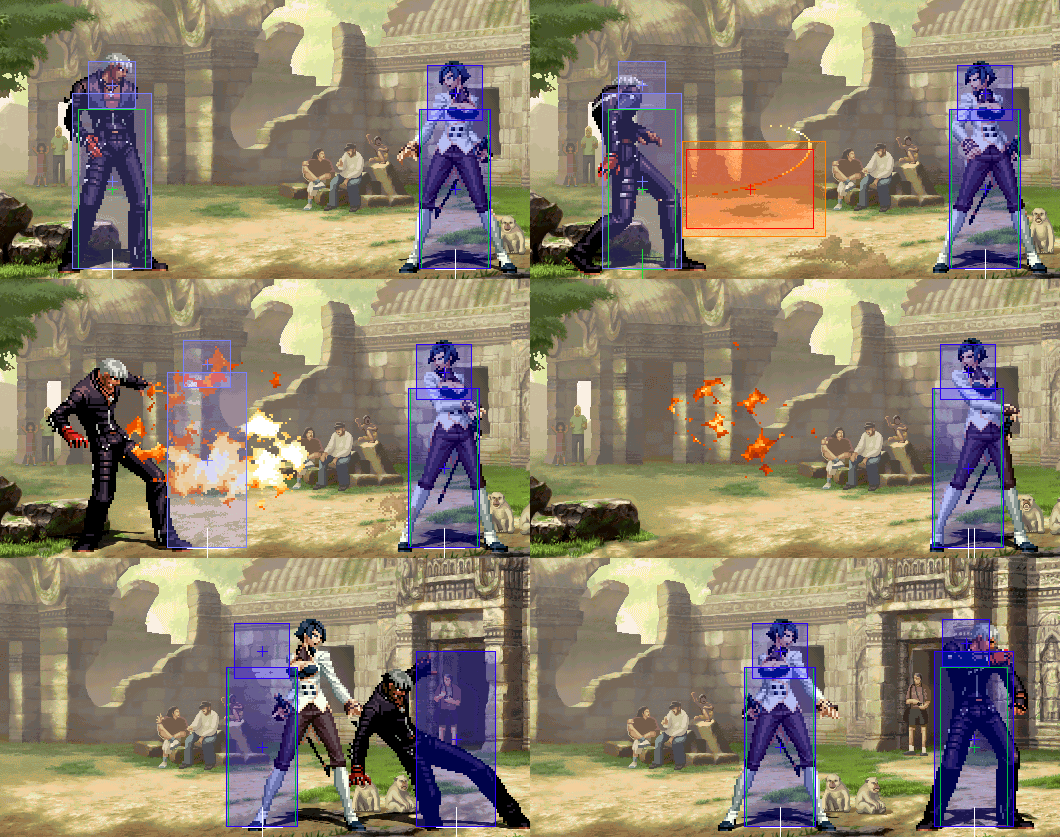
- On range, whiff-cancelling Ein Trigger (236A/C) into short or far slide (214B/D) is a good strategy to catch jump in attempts. if 236A/C hits, either 623A or 236236B can be added after the 214D-slide.
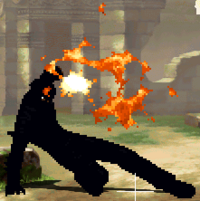
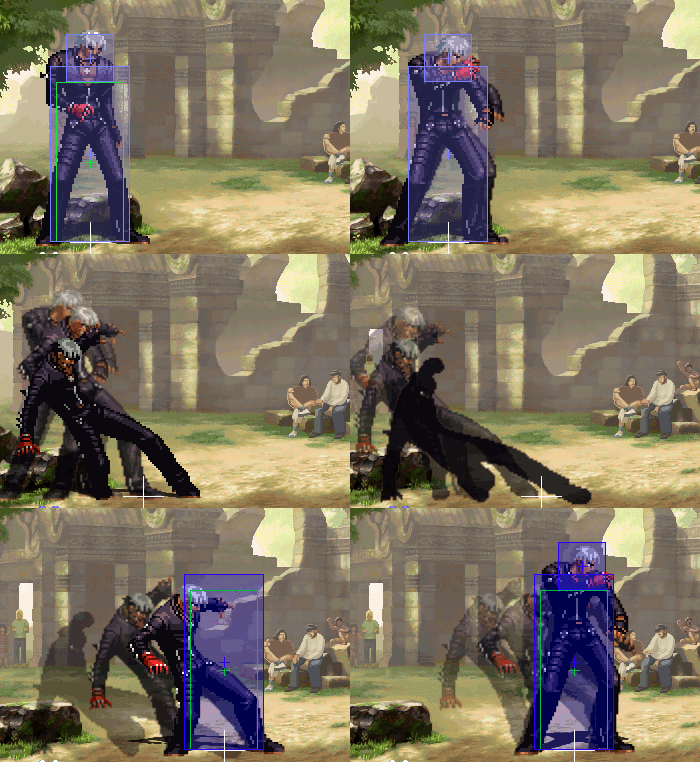
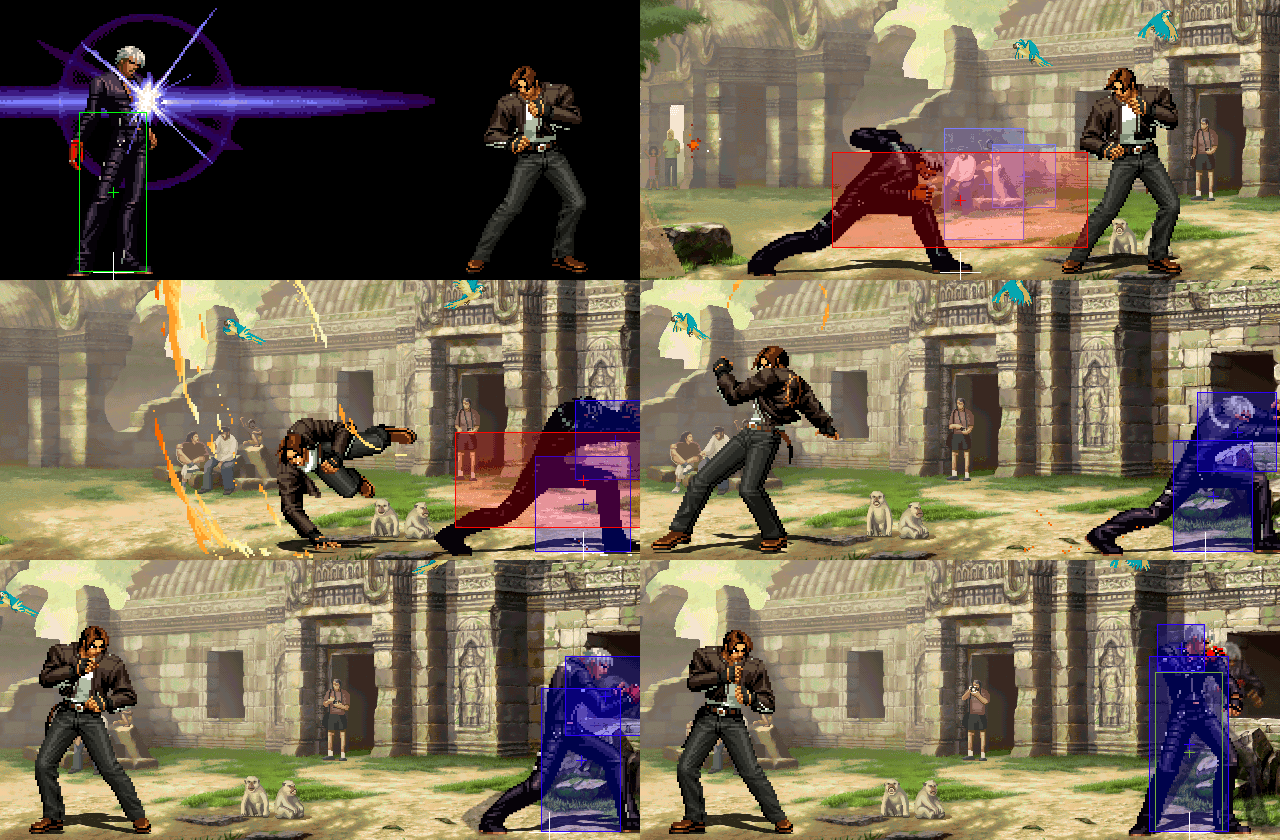
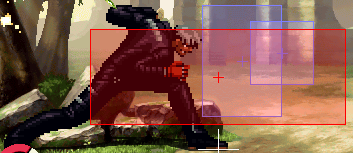
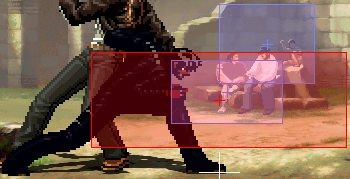
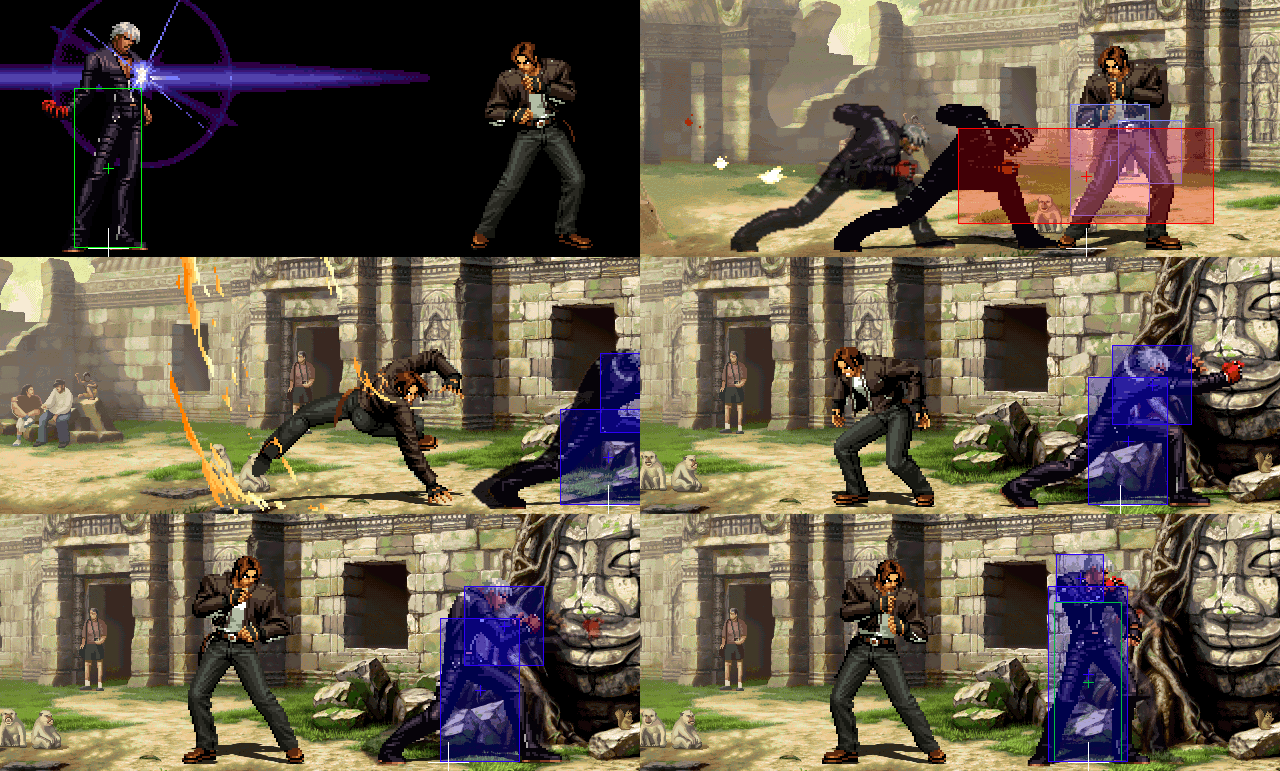
- K can punish many things on whiff or guard with his Heat Drive (236236A/C), which should be used as often as possible for the great damage & hard knockdown.
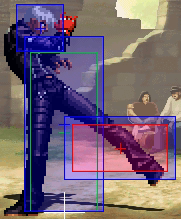
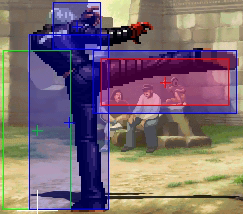
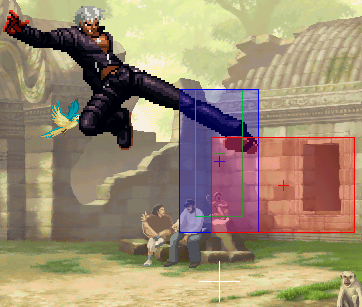
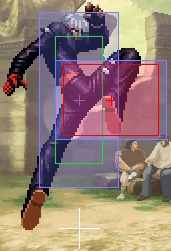
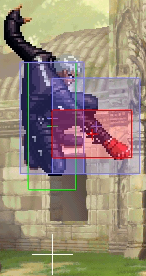
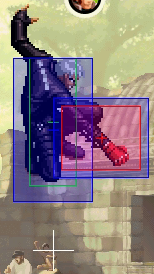
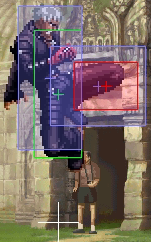
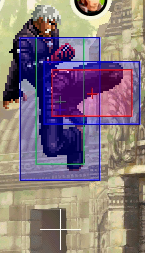
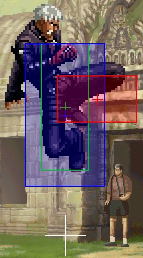
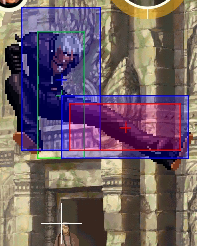
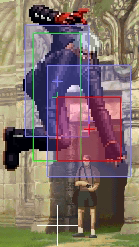
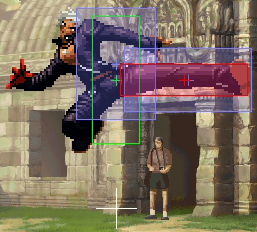
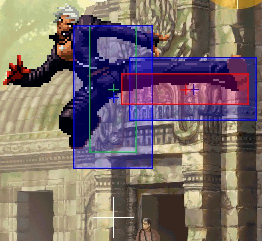
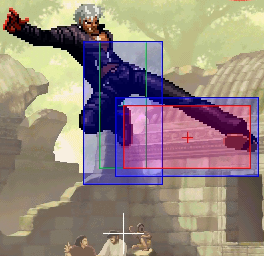
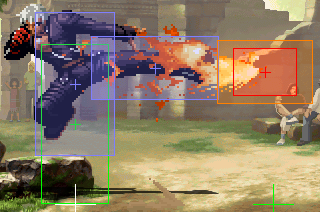
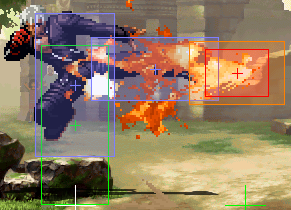
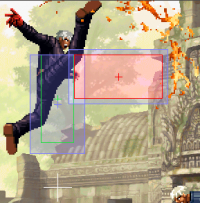
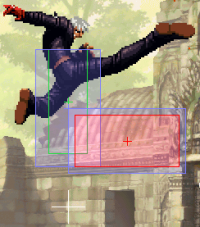
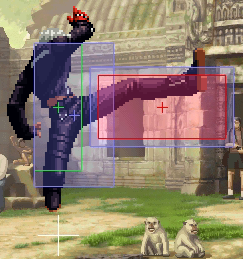
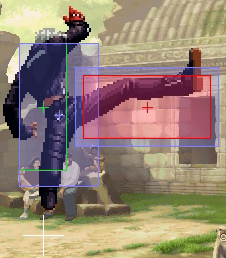
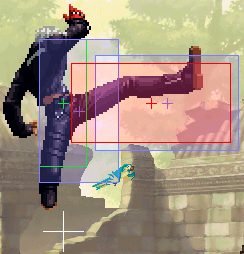
- To get in on opponents, use small or normal/super j.E from max range. j.E has an absurdly good hitbox and can even crossup.
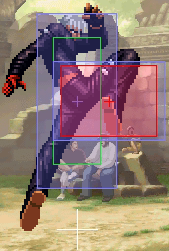
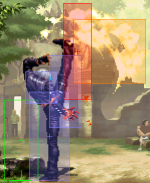
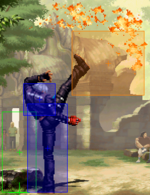
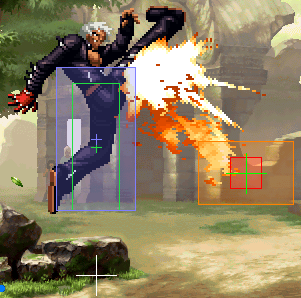
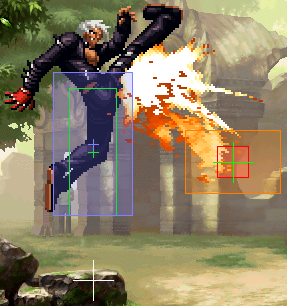
- Make sure to always add air Minutes Spike (j.214B/D) after stray anti-air hits (such as 5A, or j.B air-to-air) to maximize his damage. Air Minutes Spike has the juggle anywhere property.
- K's LDM also has juggle anywhere, which can be used much in the same way as air Minutes Spikes, but it is much harder to land.
Offense
- Once close, use a mix of j.E, j.C and block strings from 2B.
- J.C can crossup even from smalljumps if the button is pushed somewhat early.
- You can end block strings with 5A(f) or 5B(f) in case you expect your opponent to jump out. If you hit them this way, add an air Minutes Spike or LDM (only in the corner after 5B(f)).
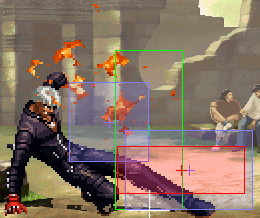
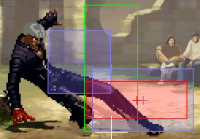
- Ein Trigger is great at the end of block strings. Adding the 214B/D followup will often catch opponents that stand up since it is a low hit, and a free 236236B or even 236236P can be added after. On block, the slide is +0 or even slightly advantageous.
- 2D is very useful in blockstrings and even as an anti-air, particularly when playing K as a Leader, since 2D combos into LDM (hit confirm).
Defense
- K has good defense, but his many reversals all come with unique downsides.
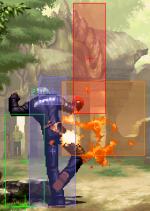
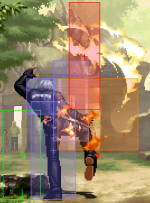
- 623A is a very fast (3F) anti-air with invulnerability on the feet. You have to react quickly to use it as an anti-air, since it has no invulnerability on the upper body. 623A can also be super cancelled into 236326P for very high damage. This is a very bold gamble on reversal though, since it costs both a super- and a shift stock and cannot be hit confirmed.
- 623C is a reversal with high invulnerability, but has long startup and is tricky to land against jump-ins. If you use it on wakeup against standing opponents, you can hit confirm it since it has 2 grounded hits - if your opponent blocked, perform a shift to be safe.
- 236236B is very fast (3F) reversal with invulnerability into the first active frame. This means that using it as an anti-air requires you to delay it as much as possible, which can be tricky. Its very fast speed make it extremely useful in punishing attacks that are otherwise hard to punish, eg. Kula 214B on block or Gato 236236A up close.
- LDM has a lot of invulnerability and goes through projectiles, but is generally too slow as a reversal. It is best used after an actual anti-air, eg. 5A, due to its juggle-anywhere property.
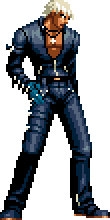
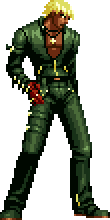
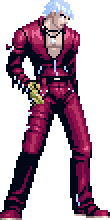
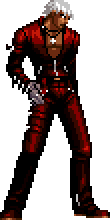
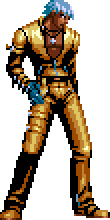
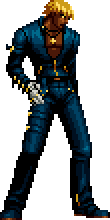
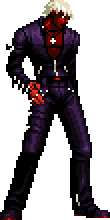
Colors
|
|
|
|
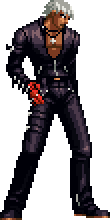
| A | B | C | D |
|
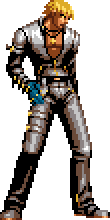
|
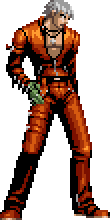
|
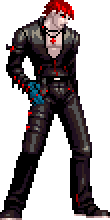
|
| R1 + |
R1 + |
R1 + |
R1 + |
| E+A | E+B | E+C | E+D |
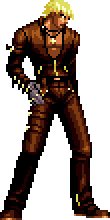
|
|
|
|
| L1 + |
L1 + |
L1 + |
L1 + |
| Start+A | Start+B | Start+C | Start+D |
Frame Data
Blockstrings
| String | Guard | Note |
|---|---|---|
| 3D>j.236B | -8/-6 | no/max delay |
| 3D>j.214B | -6/-7 | no/max delay |
| 3D>j.214D | -8/-9 | no/max delay |
| midscreen 2B>2A>236A>214D | +1/+2 | no delay/delay |
| midscreen 2B>2A>236C>214D | +0 to +2 | no delay/delay |
| midscreen/corner 2B>2A>2D>236A>214D | +2 | 236A whiffs. |
| corner 2B>2A>236A>214B | -5 |
Special 236P Data
| String | Animation | startup | Note |
|---|---|---|---|
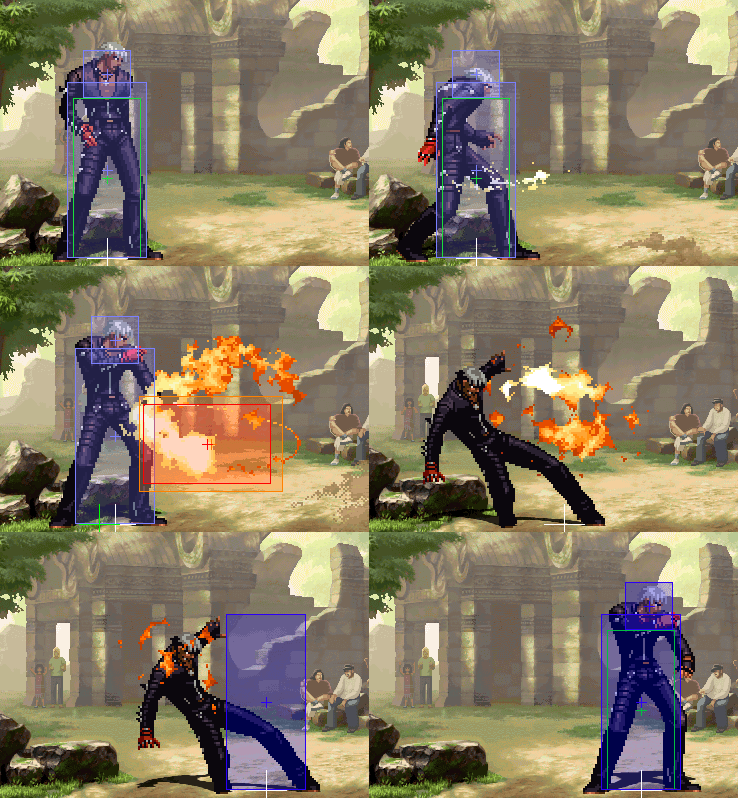
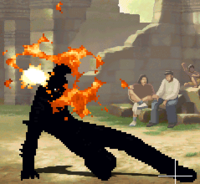
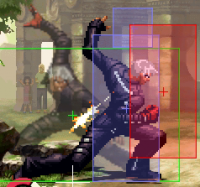
| 236A>214K fastest | 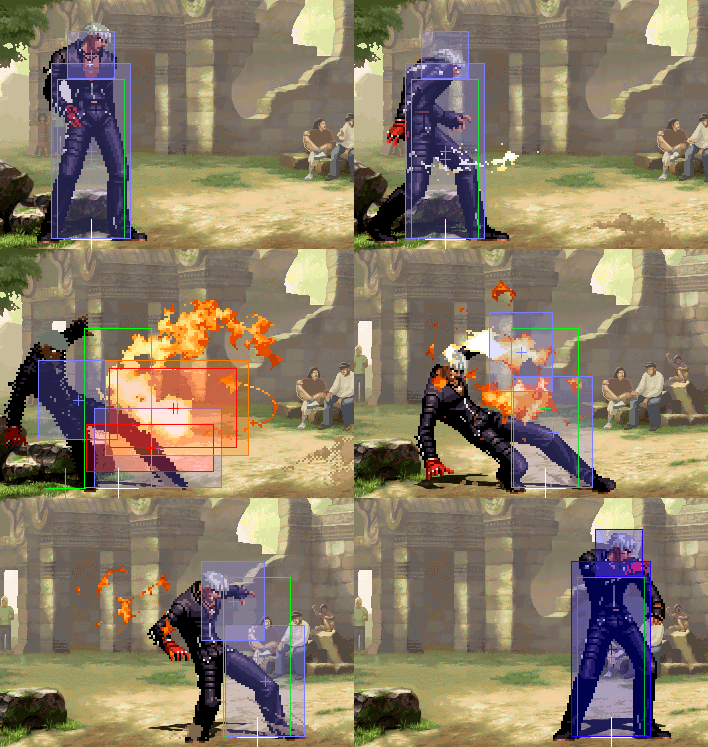 |
18 | 1st startup frame = on frame 12, 2nd active frame of 236A |
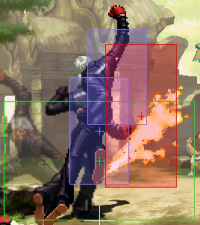
| 236C>214K fastest | 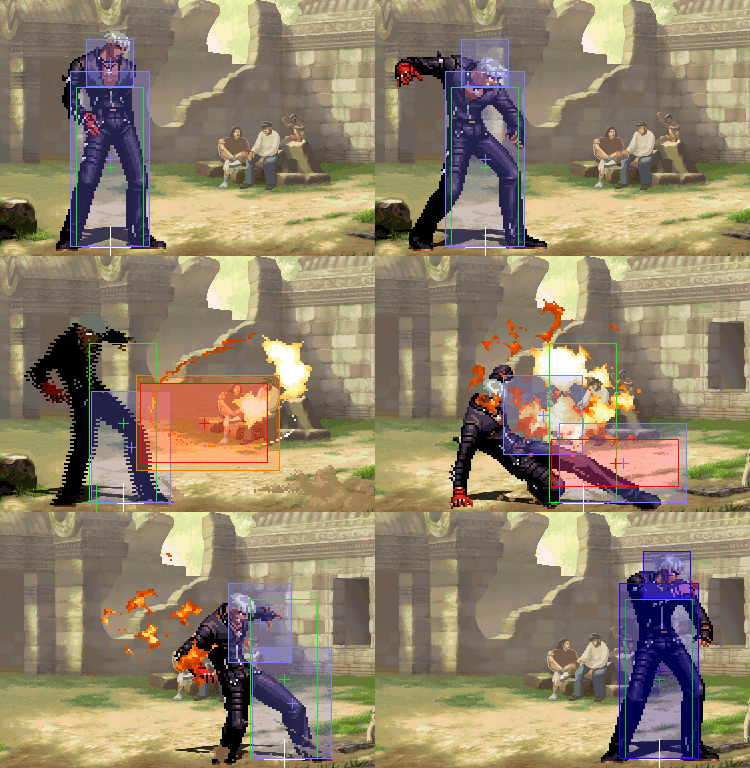 |
21 | 1st startup frame = on frame 15, 1F before 1st active frame of 236C |
Special Attributes & Bugs
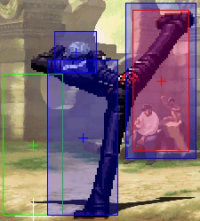
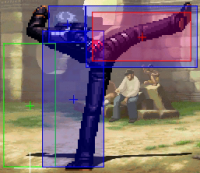
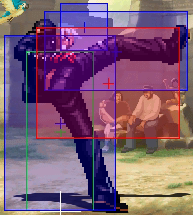
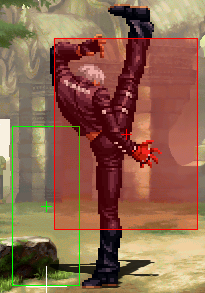
- K' has no collision on back ukemi (can run through)
- 236236P on block > DC LDM: the LDM will become unblockable (the opponent can act before the sunglasses hit though). source: u-rasia vs korean players matchvideo
- K' has 10F landing recovery from Quick Shifts, instead of the usual 4F. Cancelling into attacks or special moves cuts recovery to 9F. Whiffing an air attack cuts recovery to 1F.
- K' changes specific opponents to his own sprite for 1F during his throw (visual bug), see here
Combos
Basic Combos
- 2B>2A, then:
- 3D>j.214B: BnB Combo.
- 236236A [1 Super]
- 236236B (> QS) [1 Shift Stock, 1 Super]
- C(2)(>6B)>214B(whiff)>214B, then:
- 623A(1): BnB from a strong attack.
- 236236B: [1 Super] good damage, corner carry & knockdown, but builds meter for the opponent.
- Corner Combo (e.g. 2B>2A or 5C(2)>6B or 2C>6B) into 236A>6D, then:
- 2A(whiff)>3D>j.214B/D, 2147Bx1-2: Corner BnB without Meter. This combo becomes easier by delaying the 6D-followup to 236A. The delay timing doesn't matter, the juggle time is exactly the same as long as you delay more than 2 frames. There is no need to delay j.214B after 3D. j.214D deals slightly more stun than j.214B but makes the combo much harder and does not always work as a substitute while still getting all 3 j.214K.
- 5C(f), link LDM [2 Super] Best damage, but doesn't always connect.
- (dash up,) 2C delay cancel LDM [2 Super] Combo into LDM, works when 5C(f) doesn't.
- 6B delay cancel LDM: [2 Super] easier than dash up 2C, but harder to time the cancel. Will not connect point blank.
Special Combos
- jump / small jump C (hit early),5C(2)>6B>236C>214D, link 236236A: [1 Super] high damage combo. Only works if the j.C connects early (so 5C barely combos). Alternatively, the combo also works against a back-turned opponent, which makes it easier, but can lead to the ender being harder to connect (depends on spacing).
- corner j.C,\/,623A SC 236236A, link j.214B: Source: u-rasia.
- midscreen reset into crossup 236236C, from tacchi
Special LDM Setups
Anywhere
- 2D > Hit Confirm > LDM [2 Stocks] Does not work point blank in the corner. In the corner, try taking a few steps back and delaying the cancel for the LDM to connect.
Midscreen
- midscreen smalljump j.B (air hit),\/,LDM difficult combo that needs on-the fly adjustment of the LDM timing for the followup to the sunglass hit to connect.
- midscreen j.E Counter Hit,\/, smalljump or hyperhop j.D,\/, LDM j.E must hit closer than max range or j.D will not combo. LDM timing needs to be adjusted on the fly.
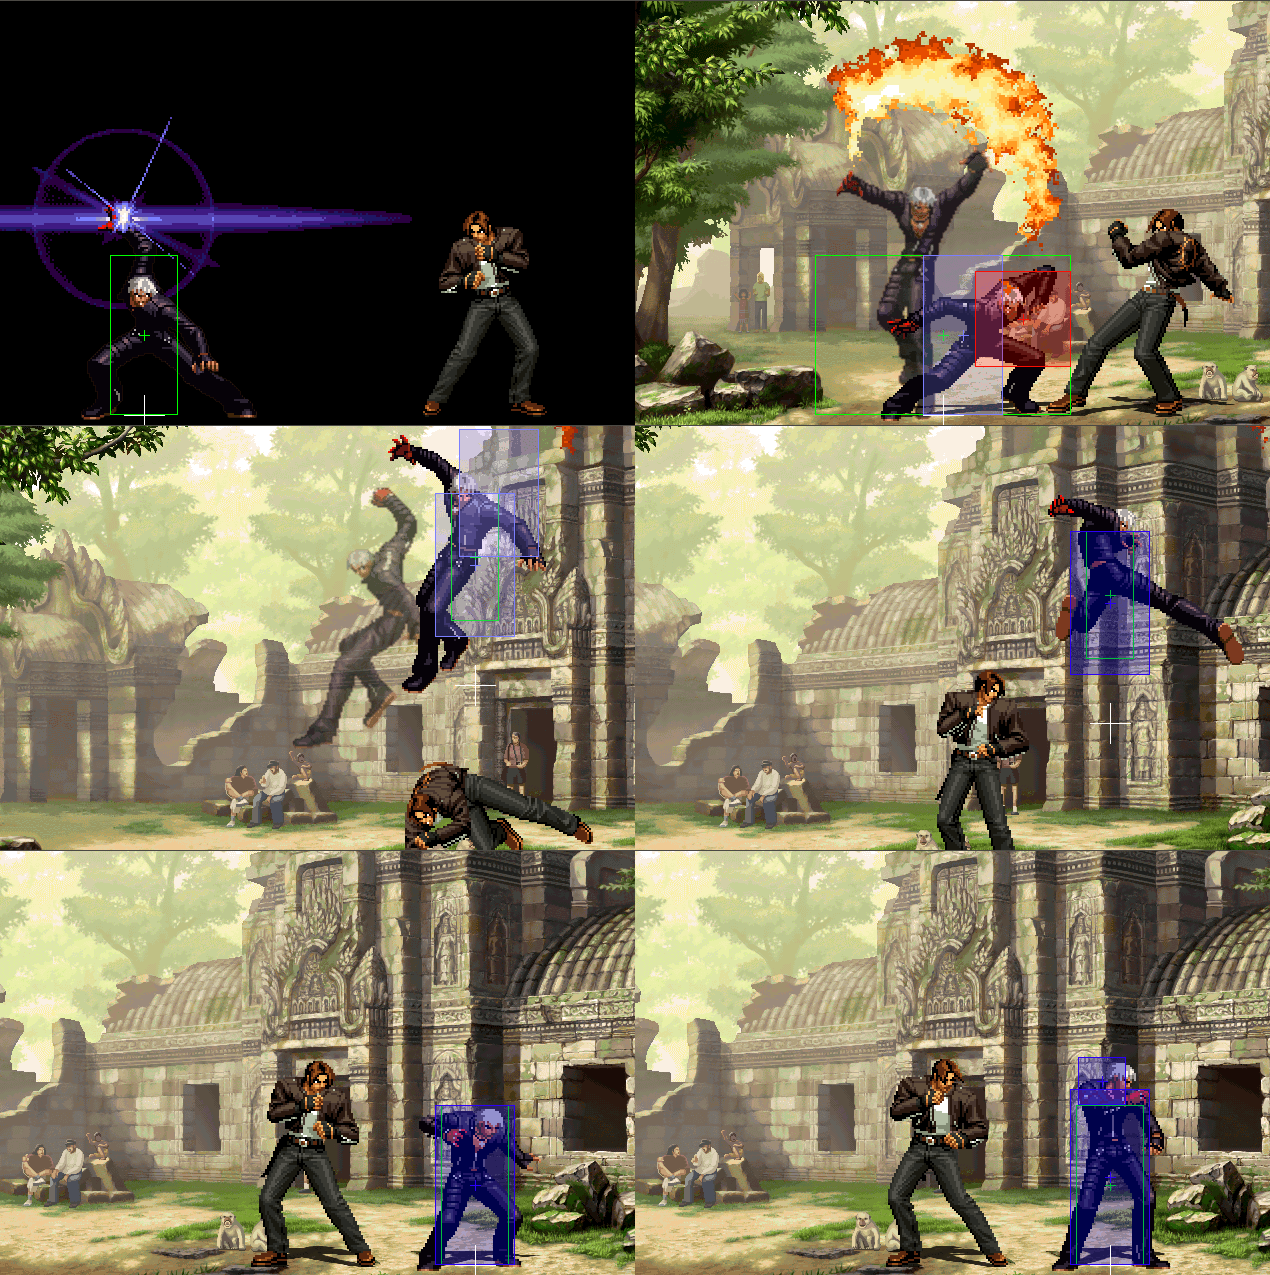
- midscreen with plenty of space left to the corner, combo into 214K>214D (eg. from 5C>6B), 623A delay super cancel 2363214E [1 Shift, 2 Stocks] Example: U-Rasia
- midscreen with plenty of space left to the corner, combo into 6B>214K-214K, link 623A Super Cancel 236236[P], briefly hold, release, link turn around LDM: [1 Shift, 3 Super] 90% damage. Only works if 236236P crosses up during the hit (does not work in the corner).
- 214E41236E: [1 Shift, 5 Super] Followup with yet another LDM (kara Cancel). Kill combo.
- Fullscreen 2B>2A>623A delay cancel 2363214E: [1 Shift, 2 Super] A way to combo into LDM from lights.
- Fullscreen (2B>2A>)623A>super cancel 236236[P], link 2363214E: [1 Shift, 3 Stocks] Source: U-Rasia. Difficult, needs perfect delay on the 236236A so that the opponent lands on it as late as possible. This is
- Midscreen launch > QS K' > j.E whiff,\/,236A-6D, walk forward, 6B > LDM Source: ko-hatsu
Corner
- Corner Anti-Air 5A or 5B(f), LDM very useful and frequently used LDM-setup.
- Corner LDM > 236321[4]E: [4 Stocks] LDM into LDM. Have to slightly walk back before pushing E for the second LDM to connect.
- Into corner juggle in j.214B/D, land, LDM: Only works with the correct spacing to the corner (K' needs to end up slightly outside of the corner after j.214K).
- Midscreen into corner 623C,6K,late j.214K, link LDM: source: u-rasia
Saving Shift Combos
- Saving Shift to K' > Counter Hit hit confirm > 236236P [1 Shift, 1 Stock] very useful combo that should be abused if K' is in the team.
- Corner Saving Shift to K' > Counter Hit hit confirm, 5B(f), LDM [1 Shift, 2 Stocks]
Team Combos
Preferred Quick Shift Normals:
- Standing & crouching opponent: j.D deals the most stun, but is hard to connect. j.C also works and is often easier.
- Close to own corner: late j.A
Universal Shift Combos
- Shift to K' j.D,\/,2C or [walk forward, C(2)]>6B>623C(1)> Shift out...: Standard-Combo for quick shifts. 2C deals more damage but 5C(2) deals more stun
- Corner Shift to K', j.D,\/,C(2)>6B>236A delay 6D, then:
- 2A(whiff)-3D>j.214B,\/, 1-2x 2147B Shift BnB without Meter, deals very high stun.
- 5C(f) or 6B or walk forward>2C, then delay LDM
Kula & Kdash
- Corner 5C(2)>236A, 214B delay 6B, 623C(1) QS K j.D,\/,backdash, 2363214E: The so-called "Impossible Combo". To make the 623C QS easier, make sure to pre-buffer its motion during the 6B-followup to 214B already. This is also why you need to delay the followup a bit, otherwise the 623C will connect too early.
- Corner 5C(2)>236A, 214B-6B, delay 623A QS K j.A whiff,\/, backdash, 2363214E: a variation from Kyuntakuya that does more damage but builds a little less meter. You can either delay the 6B-followup to 214B, or the 623A, or both - your goal is to hit the 623A as high as possible but still with the first, shiftable hitbox.
- Midscreen 5C(2)>214B-6D QS K j.E whiff, then...
- 236A-6D, sj.D,\/,2363214E: typical midscreen LDM combo setup. If you are somewhat close to the corner when doing the superjump D, you can add j.214B after and still get the LDM.
- 2A whiff 3D link 236236A: tight combo with good damage.
Gato & K
Gato 236236D > QS K' can set up a turnaround LDM. Clip by Kyuntakuya unfortunately lost (for now).
Eiji & K
- Combo in 2363214K, shift out j.X (whiff), land, backdash, 2363214E, 4-5x tigerknee j.214B
Oswald & K
- Oswald corner Hit Confirm into 3A (z.B. 2B,2B,2A,3A), QS Kdash, shift BnB: guaranteed stun with just one shift stock.
- Oswald corner Combo into 214C>236A>QS Kdash> immediately j.236D while falling, 5A(c), 236321[4]E: Launch into LDM. Saving shift does not work against this combo, which makes it useful. Walk back a bit for the LDM to connect.
- Oswald corner Combo into 214C>236A>QS Kdash [j.C] or [mini-delay j.D], \/, backdash, LDM: Alternative to the above combo with slightly more damage. Use 214C>2136A with Oswald, not 214C>236C.
- Oswald cornered 214P mit 214P>214P Ender >QS Kdash,\/, LDM: source: u-rasia
- K' DOWN! in the corner, crossup 214K-214K QS Oswald, \/, 3A,... leads to a juggle combo, see miekazu
Duck King & K
- Duck midscreen chain in 3D > shift K > j.E whiff \/ 236236A (DC LDM)
- Duck midscreen j.D,2A>623D(1) shift K > j.D,\/, long delay LDM
- Duck corner (j.D>)2A>6B>3D> QS Kdash > immediate j.236D while falling, 5A(c), 236321[4]E: Launch into LDM with no chance to get a saving shift in, which makes it useful. Walk back slightly for the LDM at the end.
- Duck corner (j.D>)2A>6B>3D> QS Kdash mini-delay j.D, \/, backdash, LDM: Alternative to the combo above with slightly more damage.
- Duck corner (j.D>)2A>6B>3D>22CDE, link 214214K(1) QS K', \/, 3D, link smalljump back j.C,\/, LDM. Source: BZR
Maxima & K
- Maxima j.D,D>6A,236C,236C (QS on 2nd Hit), Kdash j.D,2C,6B,236C-214D link 623A: Stun Combo with just one Shift stock. For the last 623A to connect, do the 236C-214D as fast as possible. This combo only works with Maxima, since the 2nd Rekka pulls the opponent in, which makes Kdash's 2C>6B>236C connect.
Vanessa & K
- K' Corner combo into 236A-6D, dash 623A(1) QS Vanessa j.D,\/, LDM, ...
Terry & K
- Terry 623K anti-air QS K', land, 236236P DC LDM: Source
Whip & K
- into corner K 2B>2A>236236B>QS Whip j.B,\/,5B(c),2B,41236P>QS K, j.A whiff,\/, 5A, backwalk LDM. Source: u-rasia
Advanced Combos
- Midscreen 236236A/C> 41236,(41)236,E: [3 Super, 1 QS Stock] Supercancel from 236236A/C. The bizarre motion is necessary for the LDM to come out. Start inputting the "41236" only once you have passed the opponent with the 236236A/C.
- Midscreen 2363214E > 214E1236E: [4 Super] a way to use LDM midscreen twice in one combo. Start inputting the second motion once you are behind the opponent after the first LDM.
- Corner 2363214E > 236321[4]>E: [4 Super] LDM > backwalk > another LDM.
- Combo with double ein trigger: by u-rasia
Blockstrings & Strategy
Midscreen, use 236P>214K in blockstrings. >214K is safe on block or even +1, depending on the distance.
Video from k-tani showing different options after this string
String: 2B>2A>236A>214D
- 1.) crossup j.C>5C: beats low block
- 2.) 236236P: beats back roll
- 3.) smalljump up C>5C: beats front roll
- 4.) 236A(trade)>236236P: beats mash
- U-rasia also uses backdash - if he gets hit in the air, it is sometimes possible to punish, see here
- 2B,2A,236A,4D, then:
- 1.) 214214A (OS vs back roll)
- 2.)2D,LDM (same)
- After 236236A midscreen: 2C (whiff), 5E kara cancel 236236P: crossup.
- midscreen 2B,2A,3D,214B/D, then 214D-214D (crossup vs back ukemi), Source: u-rasia
Okizeme
Midscreen
- Midscreen Crossup j.C or dash>smalljump crossup j.C: used frequently.
- Midscreen instant smalljump j.C>j.236B(knockdown)>E~236C-4B: instant overhead against some characters. Also a setup for meaty crossup Ein Trigger.
- midscreen LDM, backdash, 5A whiff, then:
- 5E kara cancel 236C-4B (>236236B or 623A): Crossup. Character specific since there are differences in wakeup timing.
- 5E kara cancel 236C-214B: Fake Crossup.
Corner
- Corner meaty 236C > link 2B or 5C(c): meaty 236C combos in all sorts of attacks and is also great for okizeme. Works midscreen, but is best used in the corner.
- Corner instant j.C (hit confirm),\/,623A or 236236B: Strong overhead option that can also be super cancelled. Can and should be hit confirmed. Smaller characters need a later j.C timing.
- After corner Combo into 236A>6D>3D/j.D>j.214B etc: whiff a 5A(c)>236C once the opponent is on the height of K's head while falling: this is an option select that either hits as a meaty against back ukemi or will auto turn and hit a front ukemi with the 236C, which can then be confirmed on reaction into 214D > followup. This setup is also reversal safe in case the opponent doesn't roll (tested with Kula's 3F 623C).
- After corner Combo into 236A>6D>3D/j.D>j.214B etc: 236,214A once the opponent is on the height of K's head while falling: this is an option select that either whiffs a 5A(c) in case the opponent does nothing or uses back ukemi, and will trigger a 236236P if the opponent uses a front ukemi.
- Corner 5A(c)>5C(c): This is both a frame trap and an OS against wakeup front roll, which can then be hit-confirmed. Keep in mind that 1.) the 5A(c) whiffs against small crouching characters, and 2.) the 5C(c) will only hit with 1 hit if the opponent doesn't roll.
Strategy & Okizeme
DOWN Okizeme
Midscreen
- LDM Kill, 5A(c)(whiff),5E>236B, run through corpse once or twice, then crossup 2B: Source k-tani, 1,2. Make sure to input the 236B from the initial direction and to cancel as quickly as possible.
- Midscreen throw kill, 5E kara cancel 236D, 3D>214K,\/,LDM: Setup from u-rasia
Corner
- meaty 236C just as DOWN! disappears, then either....
- link 2B,2A,236A-6D..., see also here
- >214K (crossup) into 214,236P (heat drive with crossup motion), or 5P > backwalk LDM, or 5P > minutes, or 623P SC heat or QS. To make the >214K cross up properly, you have to slightly delay the 236C from what the meaty timing would be.
- 214B(whiff)>214K crossup > any of the above enders: same crossup setup as above, easier but more telegraphed. This requires a bit of distance to the corner, otherwise you will cross already with 214B and the followup will not hit. There are also characters against whom this is more difficult to land, eg. Malin.
- K.O. with 2363214E, 214B(whiff)>214B to build meter, then:
- Backdash, superjump j.C Crossup
- Backdash or backwalk, 214K(whiff)-214K Crossup, any of the above enders (source: k-tani)
- K.O. with 2363214E, superjump back j.E,\/,214B>214B, then:
- 236C>214B (crossup)
- 236C (Meaty ain trigger) > link 2B etc.
this is the preferred post-LDM okizeme from k-tani.
- LDM kill, 214K-214K whiff, 5P(c) whiff, superjump up, falling j.C: more or less meaty j.C that hits from the front, used by u-rasia. There needs to be some extra delay in between all the moves to make sure the j.C connects, otherwise it will be too early.
- K.O. with 2363214E, superjump back j.E,\/, 5A whiff, walk back, superjump j.C: see here
- K.O. with 2363214E, 214K-214K, backdash, 2B whiff link 214D-214D (crossup? who knows?) from u-rasia
Strategy
Smalljump C Crossups
Smalljump C crossups work either from point blank (easy) or from dash / hyperhop (harder timing). They work against everyone except...
- Gato, Gai, Silber (too tall)
- Malin, Momoko (too small)
Pressure
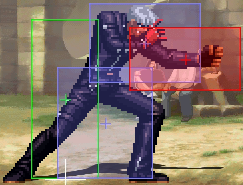
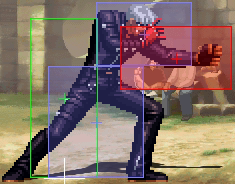
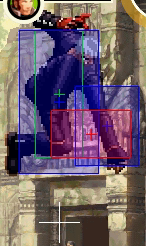
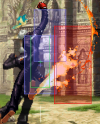
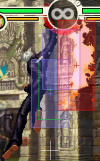
5A(c) can be used for frame traps and combos due to its massive frame advantage, check out this insane pressure from BZR
5A(c) Table
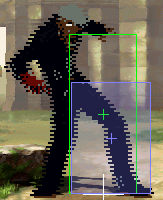
K' 5A(c) against crouching characters behaves as follows:
| Char | Hit? | Block? |
|---|---|---|
| Kyo | Hit | Hit |
| Iori | Whiff | Whiff |
| Shingo | Hit | Hit |
| Ash | Hit | Hit |
| Oswald | Hit | Whiff |
| Shen | Whiff | Hit |
| Terry | Hit | Hit |
| Kim | Whiff | Whiff |
| Duck King | Hit | Hit |
| Vanessa | Hit | Hit |
| Mary | Hit | Hit |
| Ramon | Hit | Hit |
| Ryo | Hit | Hit |
| Yuri | Whiff | Whiff |
| King | Hit | Hit |
| Elisabeth | Whiff | Whiff |
| Duolon | Hit | Hit |
| Benimaru | Whiff | Whiff |
| K' | Whiff | Whiff |
| Kula | Whiff | Whiff |
| Maxima | Hit | Hit |
| Jenet | Whiff | Whiff |
| Gato | Hit | Hit |
| Griffon | Hit | Hit |
| Ralf | Hit | Hit |
| Clark | Hit | Hit |
| Whip | Hit | Hit |
| Malin | Whiff | Whiff |
| Kasumi | Hit | Hit |
| Eiji | Hit | Hit |
| Athena | Whiff | Whiff |
| Kensou | Whiff | Hit |
| Momoko | Whiff | Whiff |
| Adelheid | Whiff | Whiff |
| Gai | Hit | Hit |
| Hayate | Hit | Hit |
| Jyazu | Hit | Hit |
| Silber | Hit | Hit |
| Hotaru | Whiff | Whiff |
| Mai | Whiff | Whiff |
| Robert | Hit | Hit |
| Tung | Whiff | Whiff |
| EX Kyo | Hit | Hit |
| Mr. Big | Hit | Hit |
| Geese | Hit | Hit |
Matchups
Universal
Vs Wakeup-Super:
- Meaty 2C > during super freeze, cancel into LDM or 623C or 214D-214D
Vs Kula
- Vs Wakeup 214B / 623C in corner : meaty 2C (not too meaty, make 2C hit with the first few active frames if possible): beats both options. If Kula did 214B, you can add a delayed LDM, against 623C or on block, you can cancel into 236A/C. Be careful if Kula slides to not cancel into 236P, or at least try to teleport after (4K followup).
- Another option is 236C as okizeme - it will beat Kula's 214B and allows a link into eg. 236236A or 5A, the latter of which can lead to j.214K loops or LDM, see here.
- In general, be very careful not go for the 236A(whiff)>214K blockstrings: kula can ray spin all followups on reaction.
- U-rasia suggests using 236A against Kula's j.C, 2B and j.E approach when close. If she used breath instead (her 236A) and it trades, you can go for the 214K followup to hit her.
- U-rasia also suggests to buffer 236263C when you expect Kula to use her 236C-Breath and use it on reaction if you see the startup.
Vs Gato
Kyuntakuya considers this matchup even, whereas Sawakoro & Rock consider Gato having an advantage, unless the matchup is played on the very highest level.
vs Ryo
vs Oswald
Good Matchup.
- 623A is very useful in this matchup as an anti-air and can even hit Oswald's j.E from quite far away.
- Most of Oswald' rekkas can be punished on block with 236236P.
- Since Oswald has no collision and higher travel distance on back ukemi, this setup works against him: fullscreen combo into 3D,214B,land, 214D, max delay 214B followup: crossup. Example from u-rasia. You can follow up this crossup with eg. either heat drive (put in as 214214P) or (5A > LDM) or 623A (input as 41236A) > shift etc.
- 623A on wakeup beats Oswald's 623A card okizeme - it wins both against 2B and j.C. Oswald has to start backdashing to bait 623A, which makes the okizeme less effective.
vs Kim
vs Iori
Corner Crossup setups 1
Corner Crossup setups 2
vs Silber
- Punish Heel super & [4]6K with 236236C
- If Silber misses the cancel from 6A into his Super, punish with 236236P after 6A
vs Mary
- Punish [4],6B on block with 623A(>sc 236236A) or 236236B.
Vs Kensou
- 2D>214P on block can be punished by superjumping right after 2D and using a very high j.C>5C...
Vs King
- King's high Venom Strikes can be punished with 236236C on reaction (heat drive goes under venom strike).
Vs Maxima
Likely a good matchup.
- punish Vapour Cannon & 5D>6A on block with 236236C.
- You can also interrupt 5D>6A>Vapour Cannon after 6A with 623C or 236236B.
Vs Ralf
- Punish unblock (Ralf upper, 623P) with 236236A or 2D or (if close) 623A
Playing against K'
Punishing Heat Drive
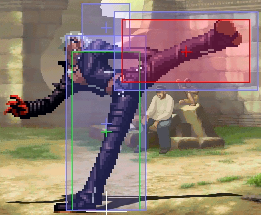
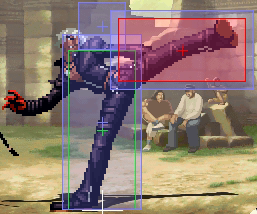
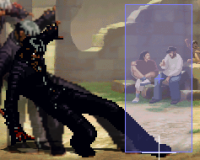
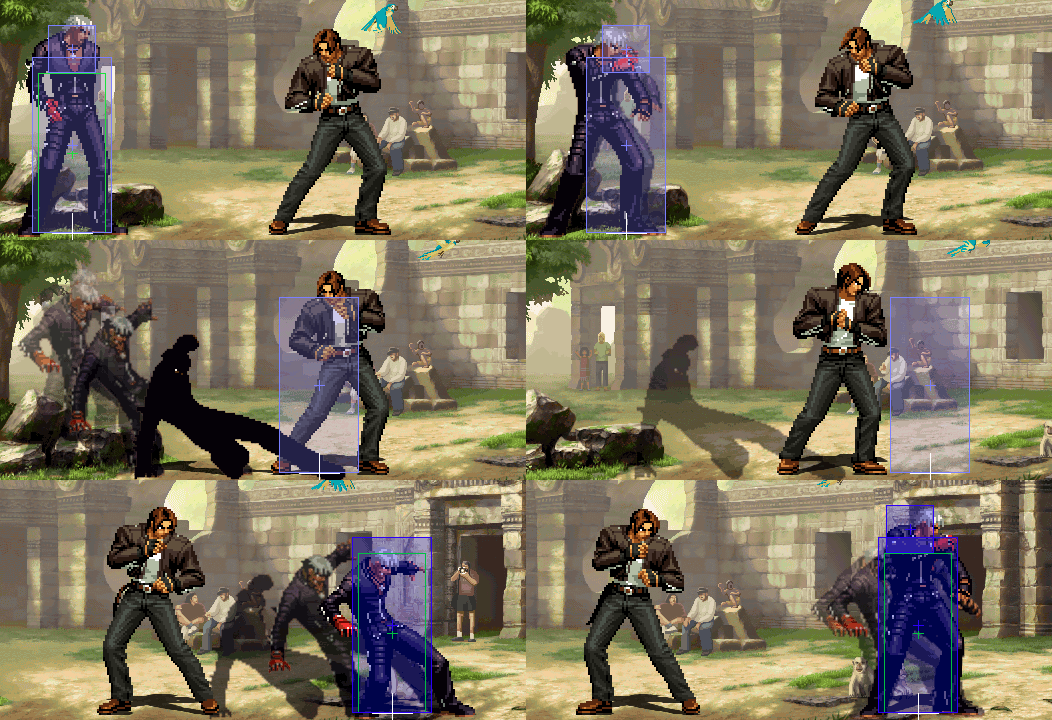
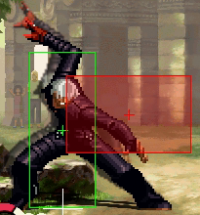
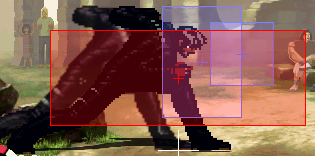
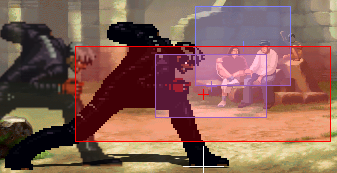
Rock made a video about the hitbox / collision peculiarities of Heat Drive (236236P) that explains how to position yourself better to punish it.
Videos
20 minute video with LDM setups from master player BZR
K' Guide from U-Rasia, part 1
K' Guide from U-Rasia, part 2
- Sacred Treasures Team: Kyo | Iori | Shingo
- Hero Team: Ash | Oswald | Shen
- Fatal Fury Team: Terry | Kim | Duck King
- Agent Team: Vanessa | Mary | Ramon
- Art of Fighting Team: Ryo Sakazaki | Yuri Sakazaki | King
- Rival Team: Elisabeth | Duo Lon | Benimaru
- Team K': K' |Kula | Maxima
- Garou Team: Jenet | Gato | Griffon
- Ikari Warriors Team: Ralf | Clark | Whip
- Anti Kyokugenryu Team: Malin | Kasumi | Eiji
- Psycho Soldier Team: Athena Asamiya | Sie Kensou | Momoko
- Time Unlock: Adelheid | Gai | Hayate | Jazu | Silber
