Adelheid(KOFXI): Unterschied zwischen den Versionen
Zur Navigation springen
Zur Suche springen
| Zeile 55: | Zeile 55: | ||
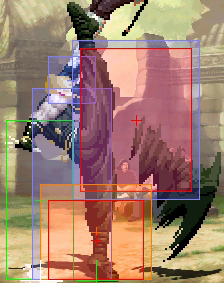
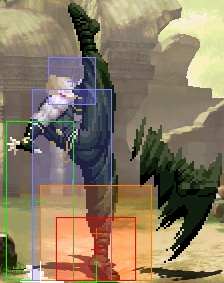
! Move !! S!! A!! Hit!! Grd!! Note | ! Move !! S!! A!! Hit!! Grd!! Note | ||
|- | |- | ||
|5A(c)|| 4 || 2|| +5|| +4 || | |5A(c)|| 4 || 2|| <span style="color: blue;">+5</span>|| <span style="color: blue;">+4</span> || | ||
|- | |- | ||
|5A(f)|| 4 || 4|| +2|| +1 || | |5A(f)|| 4 || 4|| <span style="color: blue;">+2</span>|| <span style="color: blue;">+1</span> || | ||
|- | |- | ||
|5B(c)|| 4 || 2|| -1|| -2 || | |5B(c)|| 4 || 2|| <span style="color: red;">-1</span>|| <span style="color: red;">-2</span> || | ||
|- | |- | ||
|5B(f)|| 8 || 4|| -1|| -2 || | |5B(f)|| 8 || 4|| <span style="color: red;">-1</span>|| <span style="color: red;">-2</span> || | ||
|- | |- | ||
|5C(c)|| 7 || 4+4|| +7|| +6 || | |5C(c)|| 7 || 4+4|| <span style="color: blue;">+7</span>|| <span style="color: blue;">+6</span> || | ||
|- | |- | ||
|5C(f)|| 15 || 7|| -1|| -2 || | |5C(f)|| 15 || 7|| <span style="color: red;">-1</span>|| <span style="color: red;">-2</span> || | ||
|- | |- | ||
|5D(c)|| 17 || 4|| +5|| +4 || | |5D(c)|| 17 || 4|| <span style="color: blue;">+5</span>|| <span style="color: blue;">+4</span> || | ||
|- | |- | ||
|5D(f)|| 15 || 4|| -5|| -6|| | |5D(f)|| 15 || 4|| <span style="color: red;">-5</span>|| <span style="color: red;">-6</span>|| | ||
|- | |- | ||
|5E|| 11 || 6|| KD|| -1|| | |5E|| 11 || 6|| KD|| <span style="color: red;">-1</span>|| | ||
|- | |- | ||
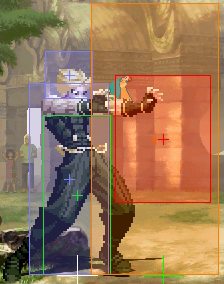
|GC|| 8 || 3|| KD|| - | |GC|| 8 || 3|| KD|| <span style="color: red;">-13</span>|| | ||
|- | |- | ||
|6B|| 7/27* || 6+2|| KD|| +6||2nd Hit overhead. *= if first hit whiffs. | |6B|| 7/27* || 6+2|| KD|| <span style="color: blue;">+6</span>||2nd Hit overhead. *= if first hit whiffs. | ||
|- | |- | ||
|4B|| 15 || 4+3+18|| KD|| -16||Special cancel hit 1-3. 4th hit hard knockdown. | |4B|| 15 || 4+3+18|| KD|| <span style="color: red;">-16</span>||Special cancel hit 1-3. 4th hit hard knockdown. | ||
|- | |- | ||
|Saving Shift|| ? || n*|| /|| /||Active until landing. 9F/10F recovery (hit/whiff). | |Saving Shift|| ? || n*|| /|| /||Active until landing. 9F/10F recovery (hit/whiff). | ||
|- | |- | ||
|2A|| 6 || 3|| +4|| +3|| | |2A|| 6 || 3|| <span style="color: blue;">+4</span>|| <span style="color: blue;">+3</span>|| | ||
|- | |- | ||
|2B|| 5 || 4|| +3|| +2|| | |2B|| 5 || 4|| <span style="color: blue;">+3</span>|| <span style="color: blue;">+2</span>|| | ||
|- | |- | ||
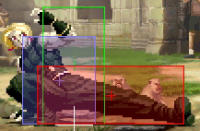
|2C|| 12 || 5|| -3|| -4|| | |2C|| 12 || 5|| <span style="color: red;">-3</span>|| <span style="color: red;">-4</span>|| | ||
|- | |- | ||
|2D|| 9 || 6|| KD|| -3|| | |2D|| 9 || 6|| KD|| <span style="color: red;">-3</span>|| | ||
|- | |- | ||
|3A|| 15 || 6|| KD|| +1||Launcher. | |3A|| 15 || 6|| KD|| <span style="color: blue;">+1</span>||Launcher. | ||
|- | |- | ||
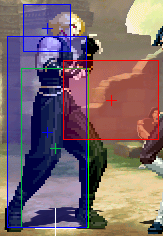
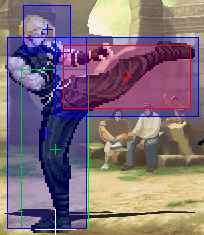
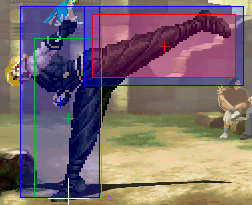
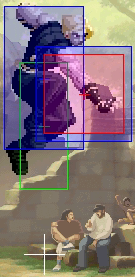
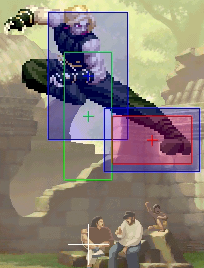
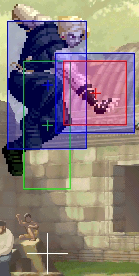
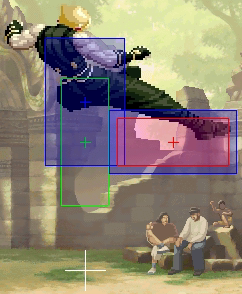
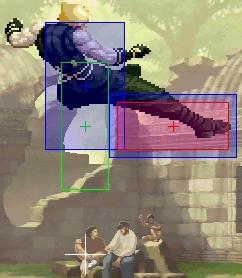
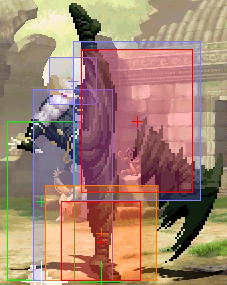
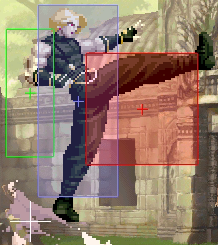
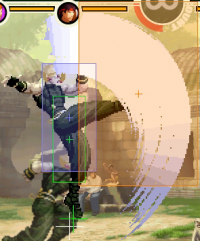
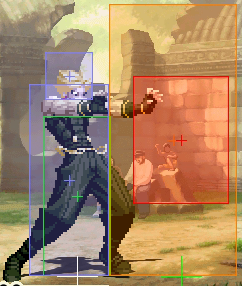
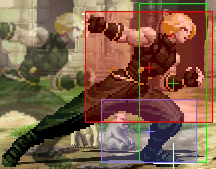
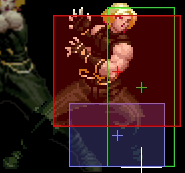
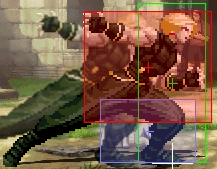
|small A|| 4 || 8|| || ||Same Hitbox as Jump A | |small A|| 4 || 8|| || ||Same Hitbox as Jump A | ||
| Zeile 113: | Zeile 113: | ||
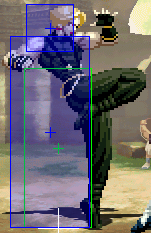
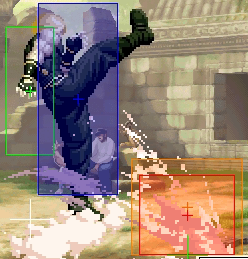
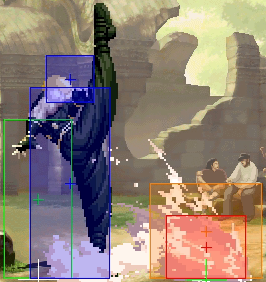
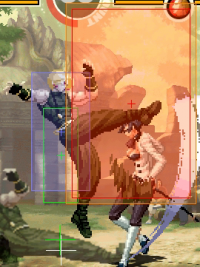
|j.E|| 8 || 4|| || ||Same Hitbox as smallump E. | |j.E|| 8 || 4|| || ||Same Hitbox as smallump E. | ||
|- | |- | ||
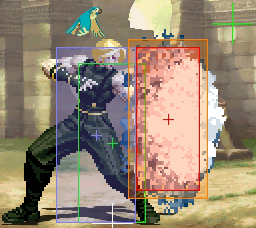
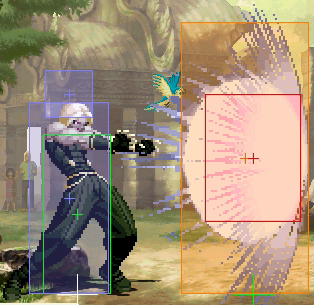
|236B(S)|| 12 || || -5*|| -6*||Shot version. *=Point Blank. | |236B(S)|| 12 || || <span style="color: red;">-5</span>*|| <span style="color: red;">-6</span>*||Shot version. *=Point Blank. | ||
|- | |- | ||
|236B(C)|| 7 || 4+X|| KD|| -14*||Cancel version. *=Point Blank. | |236B(C)|| 7 || 4+X|| KD|| <span style="color: red;">-14</span>*||Cancel version. *=Point Blank. | ||
|- | |- | ||
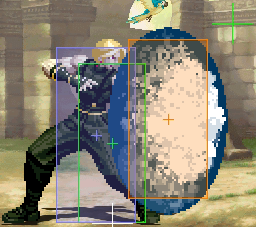
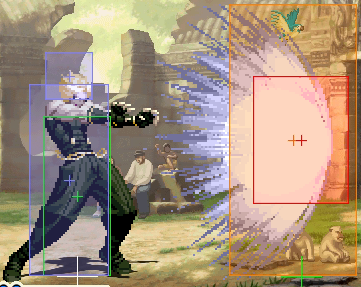
|236D(S)|| 11 || || -13*|| -14*||Shot version. *=Point Blank. | |236D(S)|| 11 || || <span style="color: red;">-13</span>*|| <span style="color: red;">-14</span>*||Shot version. *=Point Blank. | ||
|- | |- | ||
|236D(C)|| 10 || 3+3+X|| KD|| -10*||Cancel version. Juggle anywhere. *=Point Blank. | |236D(C)|| 10 || 3+3+X|| KD|| <span style="color: red;">-10</span>*||Cancel version. Juggle anywhere. *=Point Blank. | ||
|- | |- | ||
|236P|| 11 || 16|| KD|| -36||Reflects projectiles from F11, for 32F. | |236P|| 11 || 16|| KD|| <span style="color: red;">-36</span>||Reflects projectiles from F11, for 32F. | ||
|- | |- | ||
|63214A|| 15 || || KD|| /||Command grab. Triggers on proximity. | |63214A|| 15 || || KD|| /||Command grab. Triggers on proximity. | ||
| Zeile 127: | Zeile 127: | ||
|63214C|| 17 || || KD|| /||Command grab. Triggers on proximity. Different speed than A-version. | |63214C|| 17 || || KD|| /||Command grab. Triggers on proximity. Different speed than A-version. | ||
|- | |- | ||
|236236B|| 8 || 2|| KD|| -12||invul F1-9. Negates projectiles F7-20. | |236236B|| 8 || 2|| KD|| <span style="color: red;">-12</span>||invul F1-9. Negates projectiles F7-20. | ||
|- | |- | ||
|236236D|| 5/42 || 21+6|| KD|| -4||2nd hit Juggle anyhwhere? 1st hit hits low, is low profile & can crossup on incoming. Invul F1-4. Negates projectiles F41-55. | |236236D|| 5/42 || 21+6|| KD|| <span style="color: red;">-4</span>||2nd hit Juggle anyhwhere? 1st hit hits low, is low profile & can crossup on incoming. Invul F1-4. Negates projectiles F41-55. | ||
|- | |- | ||
|641236A|| 16 || || KD|| -14*||Projectile. Slower than C-Version. Invul F1-8. *=Point Blank. | |641236A|| 16 || || KD|| <span style="color: red;">-14</span>*||Projectile. Slower than C-Version. Invul F1-8. *=Point Blank. | ||
|- | |- | ||
|641236C|| 16 || || KD|| -14*||Projectile. Faster than A-Version. Invul F1-8. Projectile appears further from Adeheid than with 641236A. *=Point Blank. | |641236C|| 16 || || KD|| <span style="color: red;">-14</span>*||Projectile. Faster than A-Version. Invul F1-8. Projectile appears further from Adeheid than with 641236A. *=Point Blank. | ||
|- | |- | ||
|2363214E|| 2 || 40|| KD|| -14||F1-9 Invul. F10-41 upper body invul. 2363214-version calls in Adel's sister. While visible, 2363214E is locked (2141236E works ). | |2363214E|| 2 || 40|| KD|| <span style="color: red;">-14</span>||F1-9 Invul. F10-41 upper body invul. 2363214-version calls in Adel's sister. While visible, 2363214E is locked (2141236E works ). | ||
|- | |- | ||
|2141236E|| 2 || 40|| KD|| -14||F2-41 upper body invul. | |2141236E|| 2 || 40|| KD|| <span style="color: red;">-14</span>||F2-41 upper body invul. | ||
|- | |- | ||
|} | |} | ||
| Zeile 228: | Zeile 228: | ||
| style="background-color:#F9F9F9;" |3 | | style="background-color:#F9F9F9;" |3 | ||
| style="background-color:#F9F9F9;" |KD | | style="background-color:#F9F9F9;" |KD | ||
| style="background-color:#F9F9F9;" |- | | style="background-color:#F9F9F9;" |<span style="color: red;">-13</span> | ||
| style="background-color:#F9F9F9;" | | | style="background-color:#F9F9F9;" | | ||
|- | |- | ||
Version vom 15. Mai 2021, 11:17 Uhr
| Adelheid アーデルハイド | |
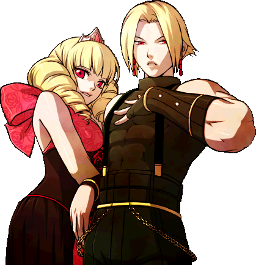
| |
| Tiers & Ranking | |
| Tier: | A |
| Ratio Cost: | 5 Points (old) |
| Properties | |
| Damage Modifier: | 1.11 |
| Stun Modifier: | 1.25 |
| Crouch height (Tier): | F |
Quick Guide
- Adelheid is a powerful but very fragile character, with one of the lowest stun values in the game, and almost no defensive options without meter.
- He can deal very high stun combo damage and is therefore excellent to shift to to finish a stun combo.
- Adel should be played as Leader since he has one of the best LDMs in the game: it is relatively safe on block, has just 2F startup, extremely high damage and great utility.
- Playing Adel in 2nd position is also fine because of his stun combo synergy, but less advisable than playing him as Leader.
Neutral
- If Adel has meter, he can take his time in neutral and use 236B/D fireballs, threatening the opponent with his Kreis super (236263B) or LDM.
- If Adel has no meter, he should take the initiative, since his anti-air and other defensive options are basically nonexistent in this situation.
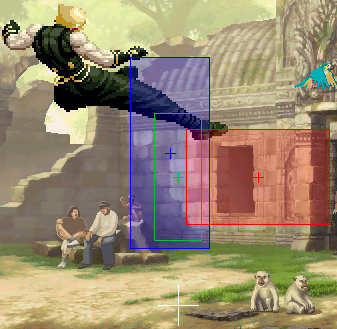
- To approach, try using j.B or j.E.
Offense
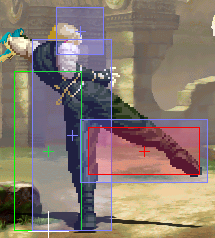
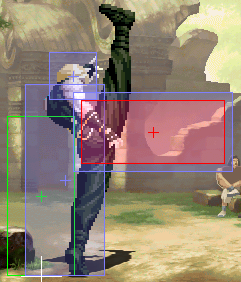
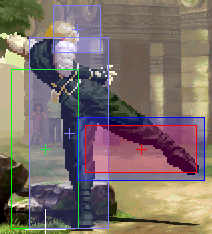
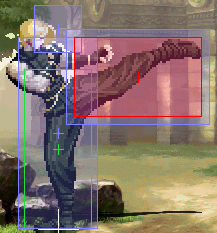
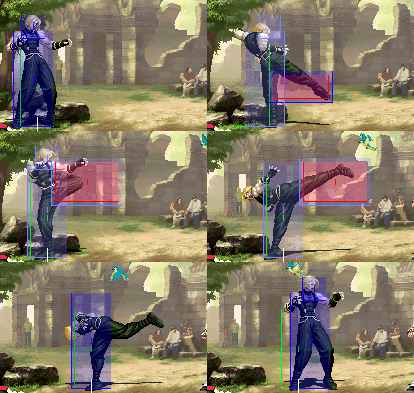
- Most of Adel's normals are useless in offense, try to focus on j.B, 2B, 5C, (cancel)6B, 2D and 3A.
- (Small)jump j.B is a good option to jump in, it hits very fast and leads to a mixup between 2B (which in turn leads into combos) or the 63214P command grab.
- 3A can be used as a frame trap after 2B. Since 3A launches, it leads to a full combo.
- 236B/D changes its properties when cancelled into and will become a physical hit. This move should not be done on block, since it is very unsafe.
- The cancel-version of 236D causes massive stun, hard knockdown and has juggle anywhere - use it as a combo ender, eg 2B>2B>6B>236D.
- After Adel's normal throw, he can use walk forward > roll to do left/right okizeme with 5C(2), which gives plenty of time to hit confirm into 6B>236D.
Defense
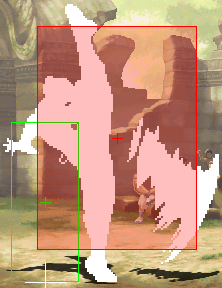
- If you have at least 1 stock, use Kreis (236236B) as an anti-air on reaction. The move loses to certain low hits, so do not overabuse it too much on wakeup.
- If playing Adel as a Leader, as soon as you have 2 stocks, the enemy must play your game. Due to the crazy startup of 2F, you can almost always use LDM on reaction, even on full screen, against jumps.
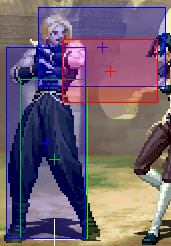
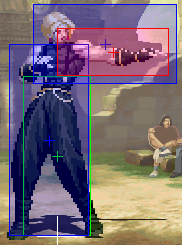
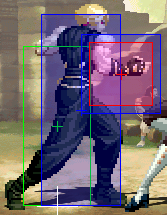
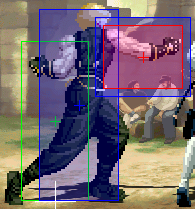
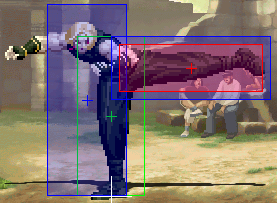
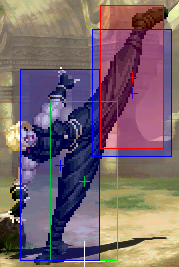
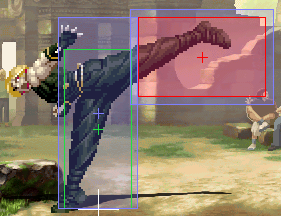
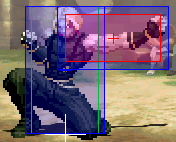
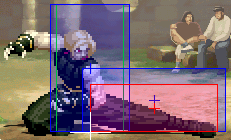
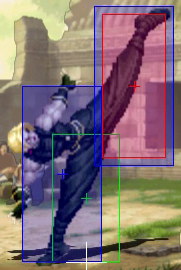
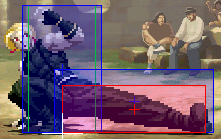
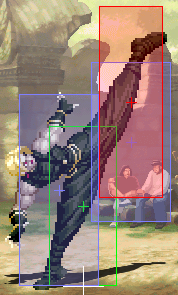
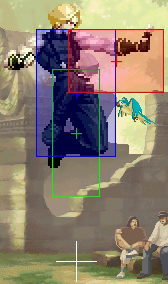
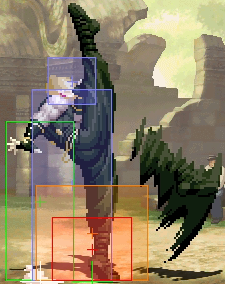
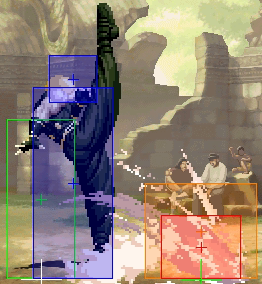
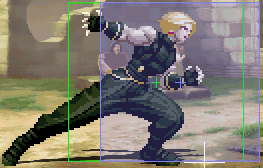
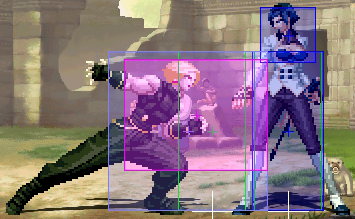
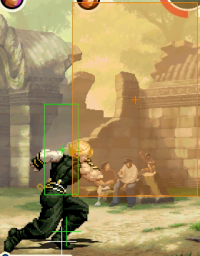
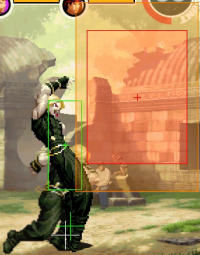
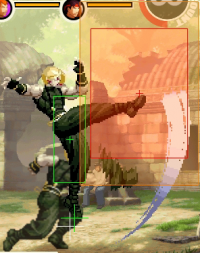
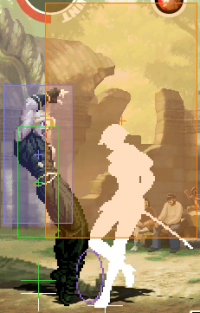
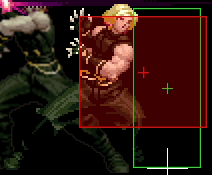
- If you are left without meter, try breaking free from pressure with 2-frame jump attacks (regardless of whether they hit) or try a very early j.E to beat jump-in attempts (this is a risky strategy however). You can also try using 5AC(c)>236D (juggle anywhere) as an anti-air against smalljumps, but the 5A hitbox makes this quite difficult.
Colors
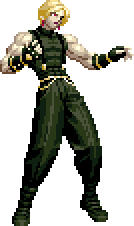
|
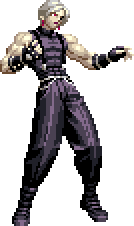
|
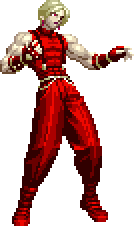
|
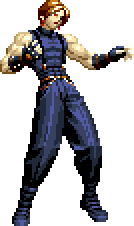
|
| A | B | C | D |
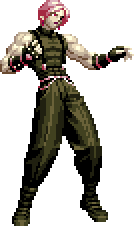
|
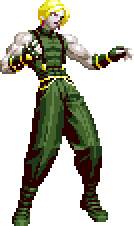
|
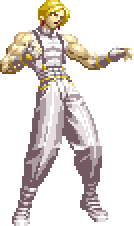
|
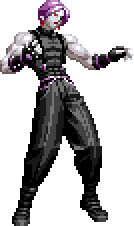
|
| R1 + |
R1 + |
R1 + |
R1 + |
| E+A | E+B | E+C | E+D |
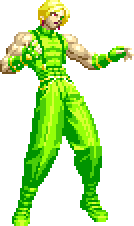
|

|
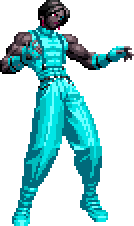
|
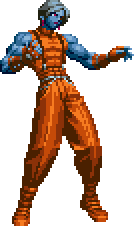
|
| L1 + |
L1 + |
L1 + |
L1 + |
| Start+A | Start+B | Start+C | Start+D |
Frame Data
236K-Table
| Move | 236K Projectile? | 236K Hit? |
|---|---|---|
| 2A | yes | yes(with delay) |
| 5A | no | yes |
| 3A | no | yes |
| 2B | no | yes |
| 5B | no | yes |
| 6B | no | yes |
| 4B | no | yes |
| 5C | no | yes |
| 2C | yes | no |
| 5D | no | yes |
| 2D | yes | no |
| 5E | yes | no |
Special Attributes & Bugs
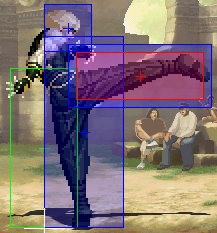
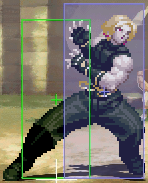
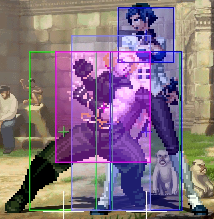
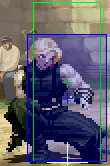
- Has a smaller than normal vertical collision during wakeup (128px instead the usual 160px), which allows smalljump crossups.
- Adelheid's front roll goes further than normal (163px instead of 160px)
- Adelheid's back roll goes further than normal (166px instead of 160px)
Combos
Note: 2B > 6B Combos deal the same or better damage than C(2)>4B Combos.
- 2B (> 2B,) > 6B(1Hit), then:
- 236D
- 236236D
- 641236P
- LDM
- Quick Shift Combo
- C(2) > 4B(2-3Hits), then:
- 236D
- 236236D
- 641236P
- LDM
- Quick Shift Combo (only after 4B(2 Hits))
- 3A > LDM
- Corner 3A > delay 236B > link LDM: very high damage, used for punishes, eg. after stun.
- 5A > 236D: anti-air.
Quick-Shift Combos
- Back-Hit with opponent in corner, Quick-Shift to Adelheid, j.D,\/,5C(2 Hits),3A, link 6B(1 Hit) > 236D. 50% damage, almost always stuns.
- midscreen 3A, QS Oswald,\/, 3A, max delay 214C,236B,236E: Ace-Setup.
Strategy
Anti Airs: 5A,5B,2C,5E, 5A>236D
- 2B > 3A: Frame-Trap, can be confirmed into LDM (3A enables juggles).
- Reversal 236236D > shift-in, Combo: the first hit of 236236D has massive hit stun and enables combos. 236236D also puts the opponent into standing position, which makes shift in combos easier.
- On hit or block 2B > 2B > 6B(1 Hit) > Quick Shift (no Jump-in or whiff jump-in) > land behind opponent. useful with eg. Oswald for his midscreen, back-turned ace setup: 2B,2A,214C(2 Hits),236D,236A(Whiff), turn-around 3A, may delay 214C,236B,236E.
- Opponent shifts out fullscreen or simply jumps: use LDM: LDM can be used to punish shifts on reaction against the incoming opponent
Okizeme
- LDM Crossup on incoming, source: 26.07.2020 robot battle collection
- Throw, dash, 2B whiff, meaty 5D: source: lunatic ryoji & maddo
Links
Okinawa-Kaz vs Urasia (Uラシア)
Japanese Wiki
- Sacred Treasures Team: Kyo | Iori | Shingo
- Hero Team: Ash | Oswald | Shen
- Fatal Fury Team: Terry | Kim | Duck King
- Agent Team: Vanessa | Mary | Ramon
- Art of Fighting Team: Ryo Sakazaki | Yuri Sakazaki | King
- Rival Team: Elisabeth | Duo Lon | Benimaru
- Team K': K' |Kula | Maxima
- Garou Team: Jenet | Gato | Griffon
- Ikari Warriors Team: Ralf | Clark | Whip
- Anti Kyokugenryu Team: Malin | Kasumi | Eiji
- Psycho Soldier Team: Athena Asamiya | Sie Kensou | Momoko
- Time Unlock: Adelheid | Gai | Hayate | Jazu | Silber
