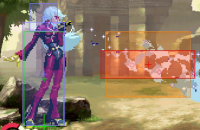
Kula Diamond(KOFXI)
| Kula Diamond クーラ・ダイアモンド | |

| |
| Tiers & Ranking | |
| Tier: | S+ |
| Ratio Cost: | 7 Points |
| Properties | |
| Damage Modifier: | 1.05 |
| Stun Modifier: | 1.0 |
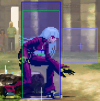
| Crouch height (Tier): | F |
Quick Guide
- Kula is a top tier character with brutal pressure, good defense, high combo damage and flexibility and great shift synergy.
- She can be played in any position, but is most often played as a point or second character because she is the only character to have an EX super for 2 stocks that can serve as a substitute LDM.
Neutral
- Kula uses her very fast walk speed & backdashes to move around in neutral, threatening opponents that want to attack with her very fast 623C (3F startup), which also knocks down.
- 3C can be used as a good long-range poke.
- Kula usually approaches by walking into smalljump range, where she can then close in on the opponent with 214B (which has invulnerability during some of its startup) or her extremely fast j.E (6F startup).
Offense
- Kula's smalljump C is a notoriously strong and fast attack that is her overhead option during blockstrings.
- 5C(c) is extremely fast (4 frames) and has 2 hits, which makes it a great option for combos & punishes. It can also be hit confirmed easily.
- pairing J.C pressure with her 2B>2B>5B>623C combo starts a very strong and hard to block mixup game.
- 236P gives massive frame advantage and should be used against cornered opponents in block strings, eg. after 2B>2B.
- Basic combo from j.C midscreen: 5C(2)>214B>6D, delay 623C.
- Basic combo from j.C corner: 5C(2)>236A, link 214B,delay 6B, 623C.
- 214B>6D launches very high and is one of the best shift combo starter setup for juggles - use it.
Defense
- 623C is her best rerversal option: 3F startup, causes hard knockdown but only has invulnerability above the feet (does not work against lows).
- 214B can be used on wakeup due to its invulnerability during startup. If the 214B hits, it can combo into 6D, then any juggle or shift out, which makes it a strong reversal option.
- Kula' EX super (costs 2 stocks) is highly damaging, particularly when used as an anti-air or from a back-hit during combos.
Colors

|

|

|

|
| A | B | C | D |

|

|

|

|
| R1 + |
R1 + |
R1 + |
R1 + |
| E+A | E+B | E+C | E+D |

|

|

|

|
| L1 + |
L1 + |
L1 + |
L1 + |
| Start+A | Start+B | Start+C | Start+D |
Frame Data
Note: Special attack hit/guard is outdated. Thanks to Rock for the normal Hit/Guard Data.
| Move | Hitbox | Startup | Active | Adv | Note |
|---|---|---|---|---|---|
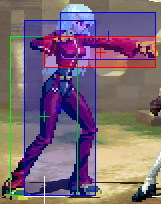
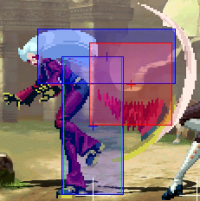
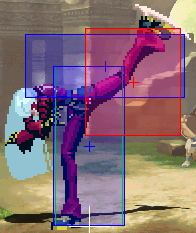
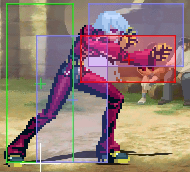
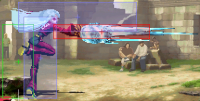
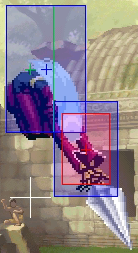
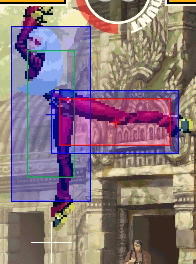
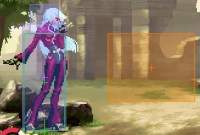
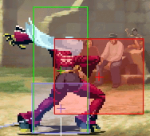
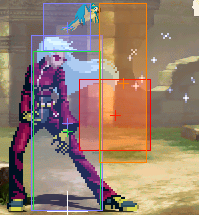
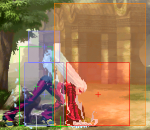
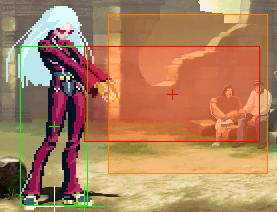
| 214B | 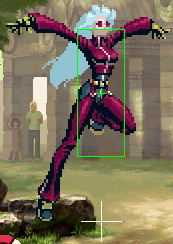 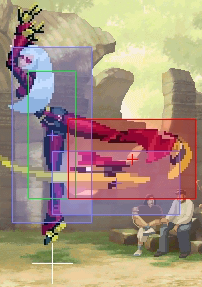 |
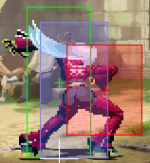
15 | 5 | -3 | F1-6 invul. |
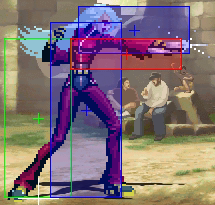
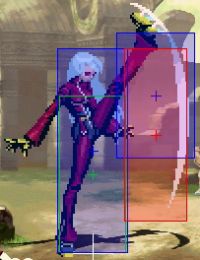
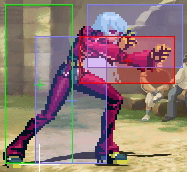
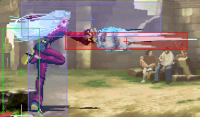
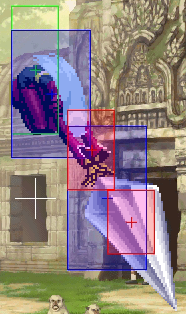
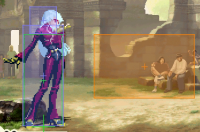
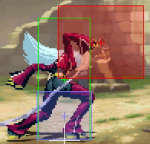
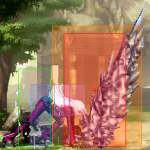
| 214D | 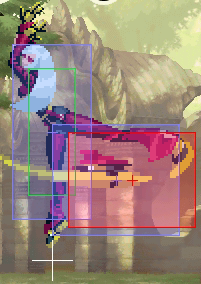 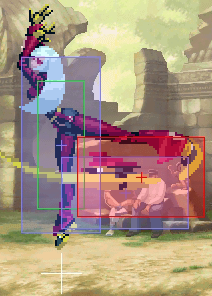 |
22 | 2+3 | +10 | No invul. |
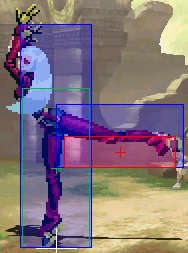
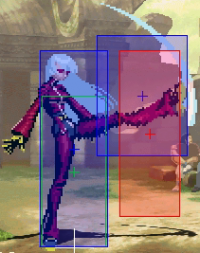
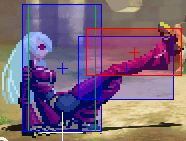
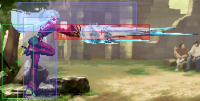
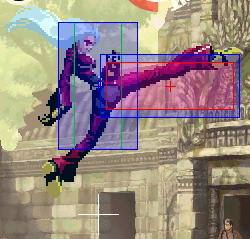
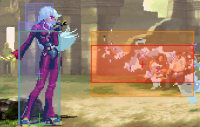
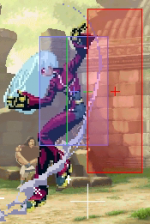
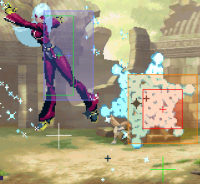
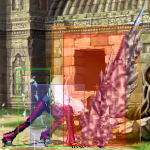
| 214B/D>6B | 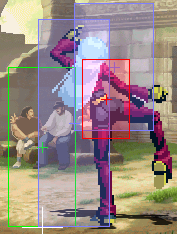 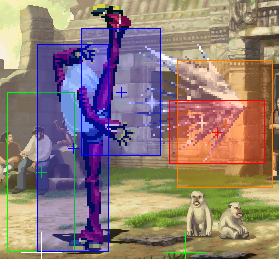 |
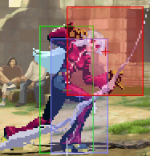
9 | 2+? | -1/-3* | *= close (corner), 2 Hits / 1 Hit. |
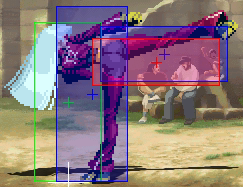
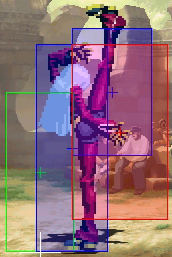
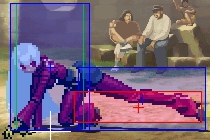
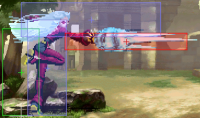
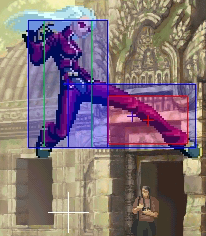
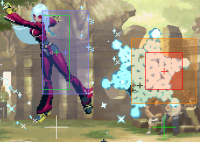
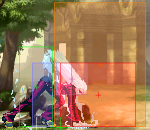
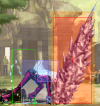
| 214B/D>6D | 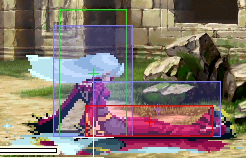 |
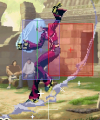
8 | 12 | -14* | *= close (corner) |
Special Attributes & Bugs
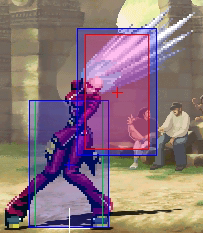
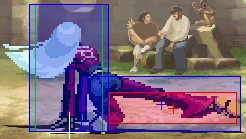
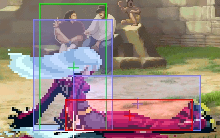
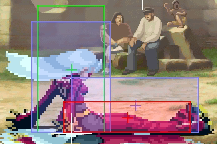
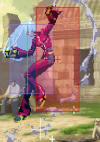
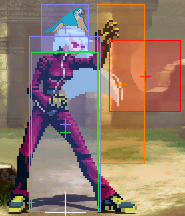
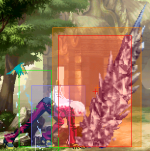
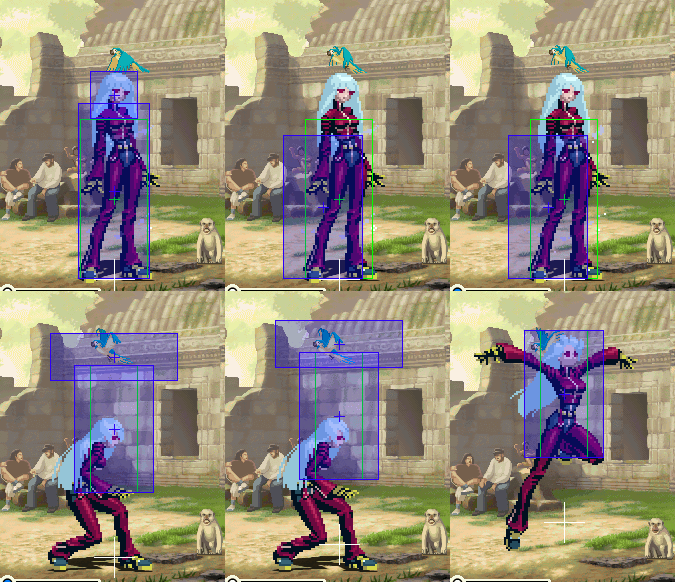
- Has a smaller than normal vertical collision during wakeup (128px instead the usual 160px), which allows smalljump crossups.
- Has no collision on back Ukemi (can run through)
- Kula has no recovery when landing from a DOWN! and can act immediately.
- Kula's arms have a hurtbox during her jump startup, for 2F (small jump) & 3F (normal jump).
Combos
- 2B>2B>(5B>)623C
- j.C>5C(2)>214B-6D, 623C
- 5C(2)>6A>214B-6D, 623C
- Corner Combo in 5C(2)>236A, link 214B delay 6B, 623C
- Quick Shift: works on the first 623C hit only, and only if 6B was delayed.
Special Setups & Motions
- Close 214B-6D, 623C: input the 623C as "41236C".
- Close 214B-6D, 236236E: input the 236263E as "214214E".
- 5C(2)>214B-6D, 236263E: input the 236236E as "214236E".
Matchups
Vs Duck
According to Serio & Nori the Kula vs. Duck matchup is roughly a 7.5 to 2.5 in favor of Kula. A quote on this delivered through Rock: "Kula just waits and uses 2B & 2D while buffering 623C, which she uses on reaction, if Duck jumps. Due to the 2B & 2D, Duck cannot approach from the ground, which makes the matchup very hard."
Based on Kyuntakuya & tests done just for us by Sawakoro & Rock there is evidence however that the matchup might very well be somewhat even. Particularly Duck's 2A is very useful to pressure Kula.
Vs Kula (mirror)
- Use j.C>236236E against a blocked 623C for an option select. If the opponent's Kula attempts to saving shift, the incoming character will get hit by 236236E. Source: u-rasia.
Universal strategy vs Kula
Corner Pressure
- Vs 2B,2B, cancel 236A/214B: rolling forward as late as possible allows a punish if Kula did 236A.
- Vs 2B,2B, 236C: jumping out enables a punish, if the air attack is done relatively early & high.
- Vs 214D: roll out, dash, punish.
Thanks toKyuntakuya for these tips.
Kula's 623C
623C (her SRK) only has 3F startup and is therefore hard to safe jump, except if you manage to jump very early and possess a jump-in that hits very low (since the invulnerability does not extend to her feet). Since this isn't always an option, the following okizeme can be used:
- (Corner only) superjump as okizeme (623C will whiff right under)
- Meaty low Hit
- Use an attack as okizeme that both beats 623C AND 214B, eg a late 2C with K'
- A very early smalljump that makes it hard to see whether the attack is a safe jump or a fake safejump that lands a bit early (not a very solid strategy)
Kula's 214B
Since Kula's 214B (Ray Spin, the roundhouse kick jump) has invulnerability until just before the active time, she can use it as a reversal. This is a strong reversal option since it is relatively safe for her (punishes happen to her while airborne) and it can lead to a full combo if she actually hits with it. The threat of this move forces the opponent to guess between her 623C and 214B on wakeup, or her simply doing neither.
The best way to counter reversal 214B is by using a
delayed okizeme attack with a hitbox that can hit ray spin, which then hits on counter-hit and enables a combo (if you immediately cancel any normal attack on air counterhit, you can combo after). Example from Tori, with Oswald: delay 5D(counter hit)>3A>214A...
Videos
Kula Guide from U-Rasia, part 1
Kula Guide from U-Rasia, part 2
- Sacred Treasures Team: Kyo | Iori | Shingo
- Hero Team: Ash | Oswald | Shen
- Fatal Fury Team: Terry | Kim | Duck King
- Agent Team: Vanessa | Mary | Ramon
- Art of Fighting Team: Ryo Sakazaki | Yuri Sakazaki | King
- Rival Team: Elisabeth | Duo Lon | Benimaru
- Team K': K' |Kula | Maxima
- Garou Team: Jenet | Gato | Griffon
- Ikari Warriors Team: Ralf | Clark | Whip
- Anti Kyokugenryu Team: Malin | Kasumi | Eiji
- Psycho Soldier Team: Athena Asamiya | Sie Kensou | Momoko
- Time Unlock: Adelheid | Gai | Hayate | Jazu | Silber
